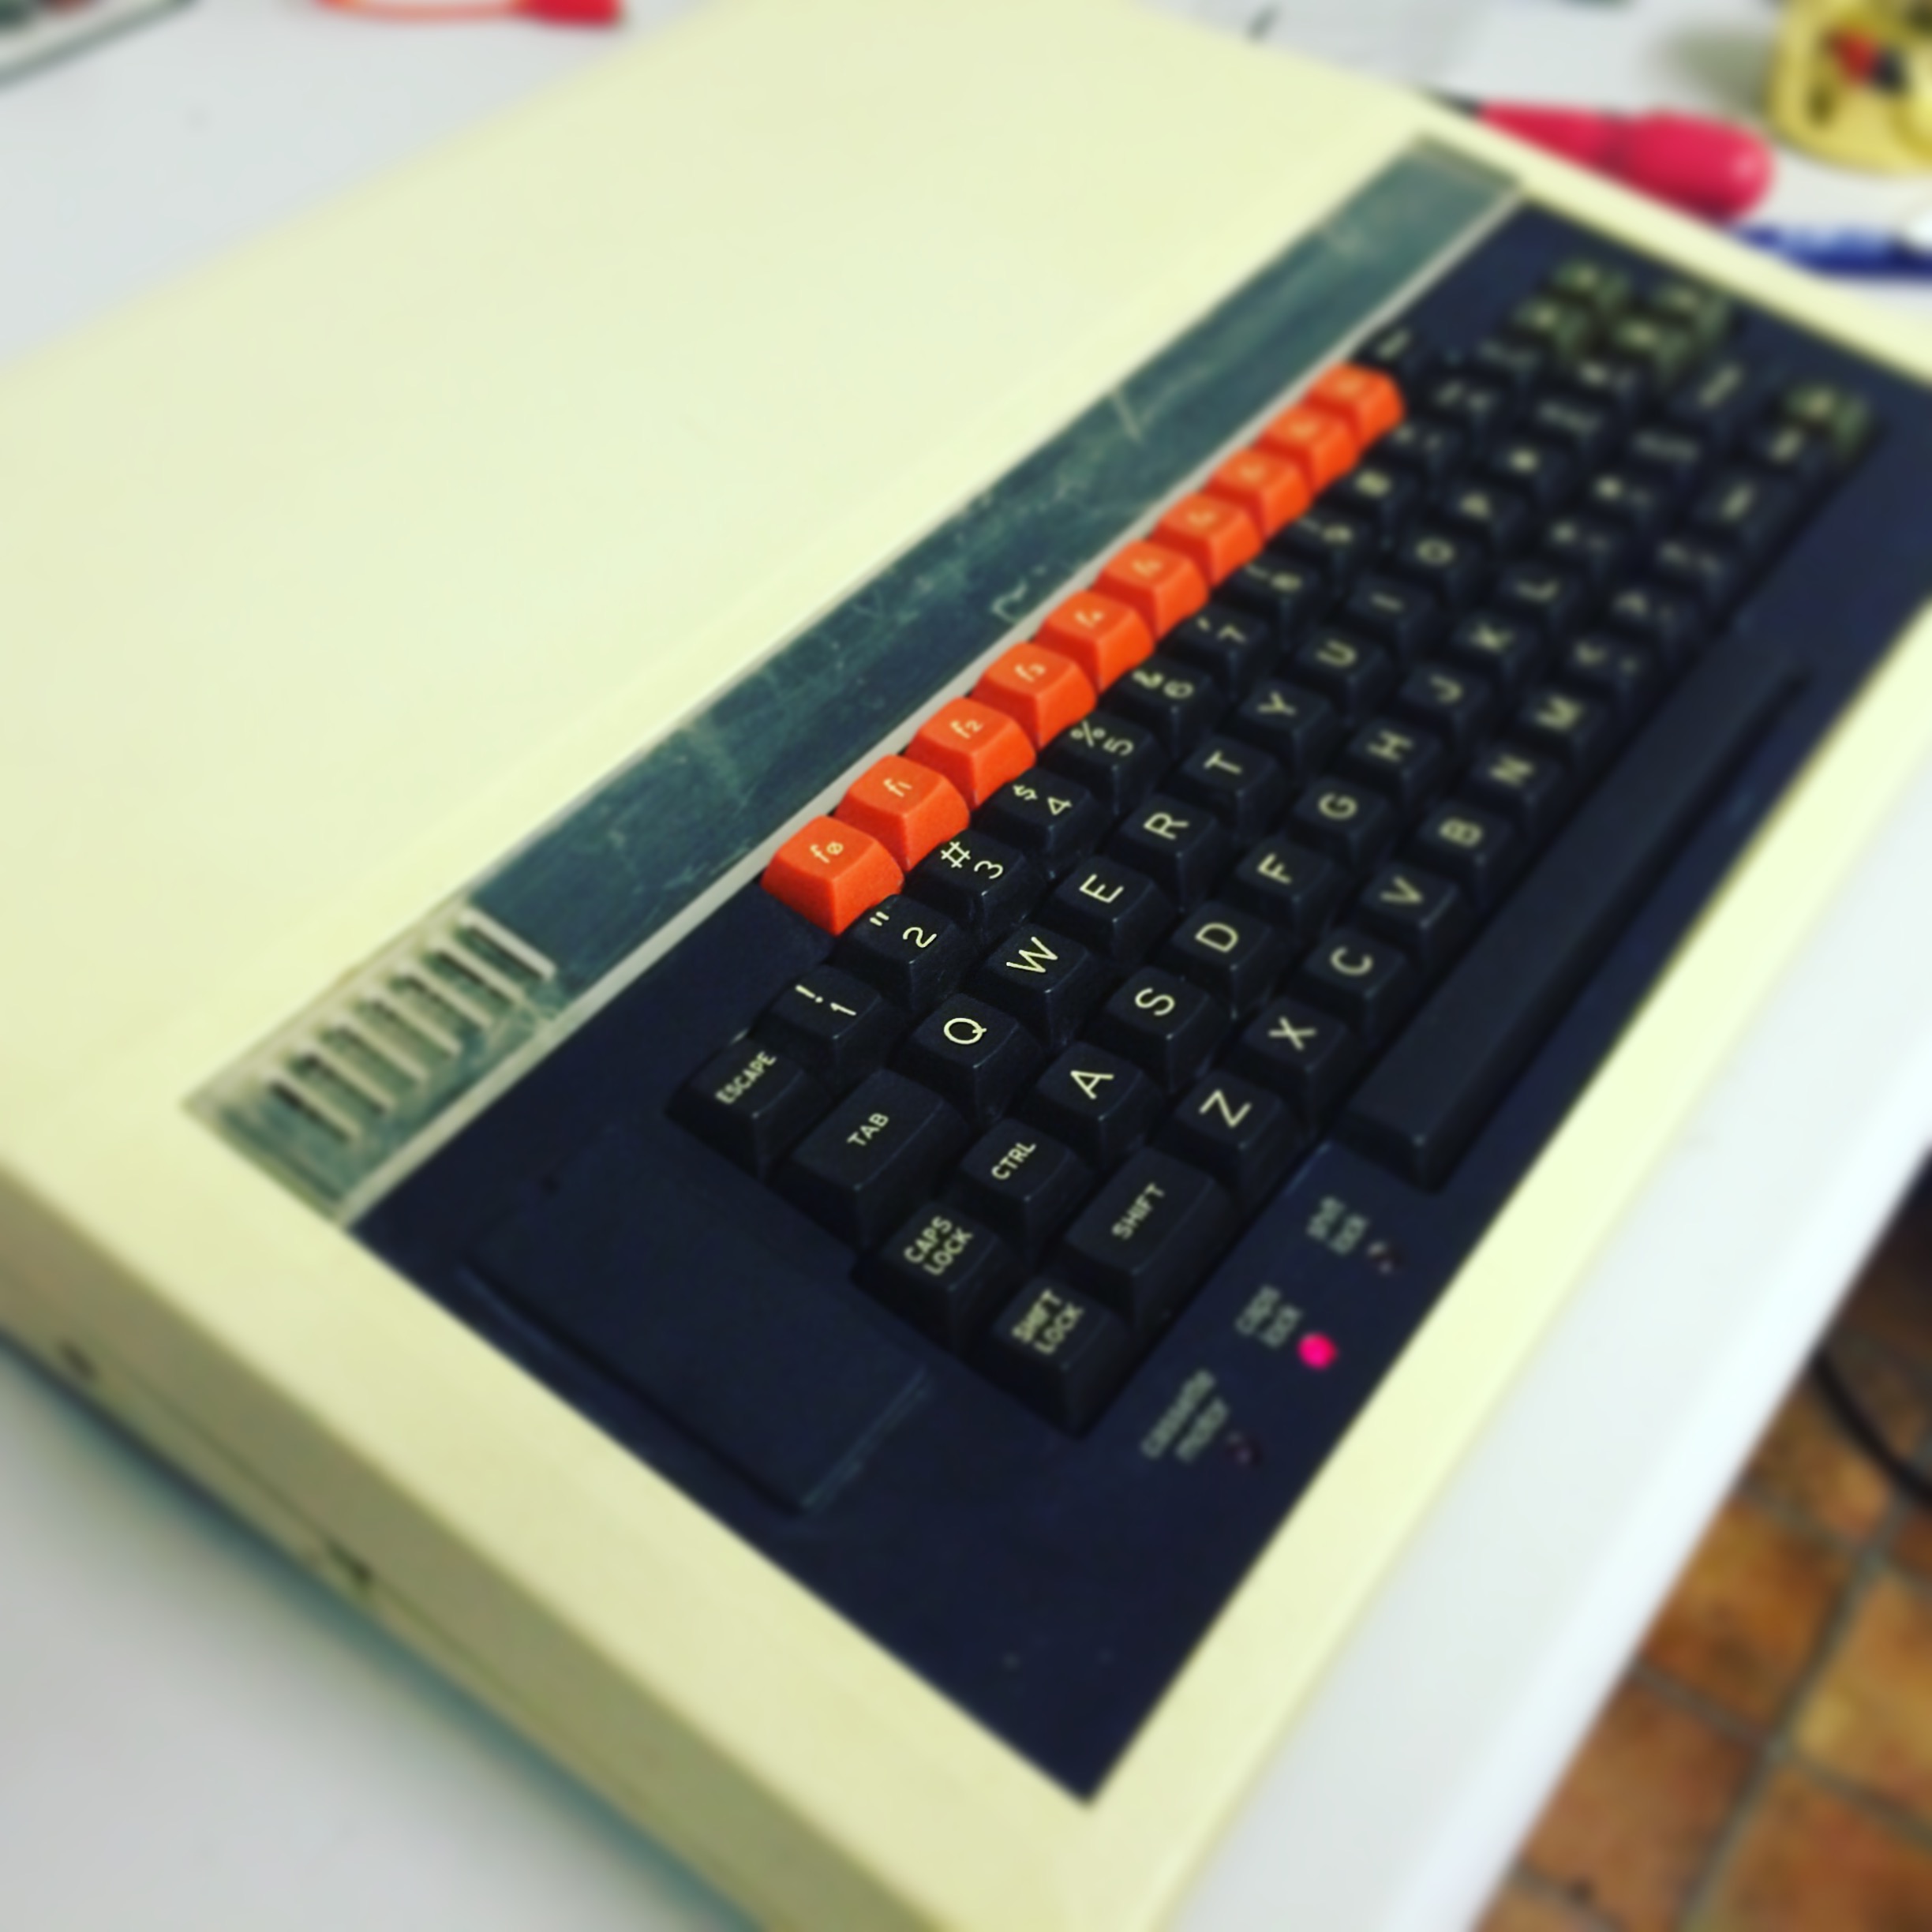
 Well, over the years I have had loads of computers, some home brew, some commercial. They have come and gone, however, my Acorn BBC Micro – Model B 32k has always followed me around. It was purchased second hand some 30+ years ago, after selling our beloved Acorn Electron. I can remember my mum taking me into a computer shop in Newport to look at a Sinclair Spectrum 128k with cash in hand, and telling her it would be ok to park on those lines as we were only going to be a minute. How wrong I was – parking ticket and clip around the ear later 🙂 My brother and I decided to go for a BBC Model B instead, and due to the price, second hand was the way forward. One was found, from a family in Bassaleg I seem to remember. Anyway, enough of the back story….
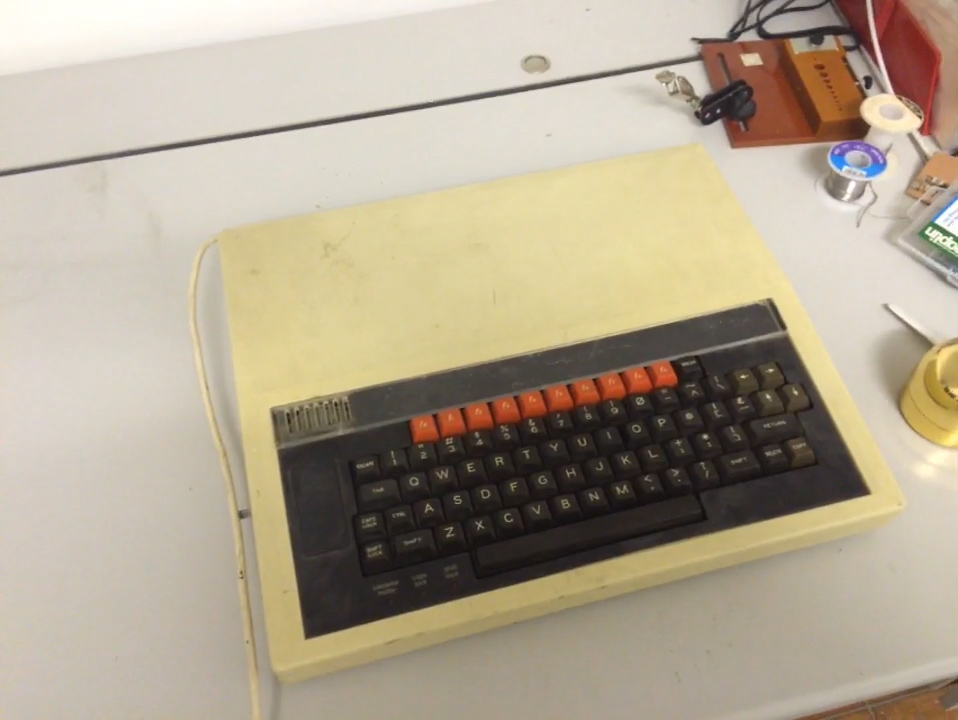
Or perhaps not…. For a good many years of my childhood, my brother and I used that BBC Micro, together with a friend Chris McCray we spent many a weekend, tweaking that, bodging this, downloading via prestel/teletext, listening to Music 500’s and other shenanigans. Fast forward 31 years, and my BBC Micro – Model B was in a sorry state, and would not switch on.
After some diagnostics, I discovered the PSU was not working, a bunch of capacitors need changing, specifically C1, C2 and C9 in the PSU.
- C1 (0.1uF (100nF) X2 class capacitor) @ 250VAC (or higher)
- C2 (0.01uF (10nF) X2 class capacitor) @ 250VAC (or higher)
- C9 (220uF electrolitic capacitor) @ 10V
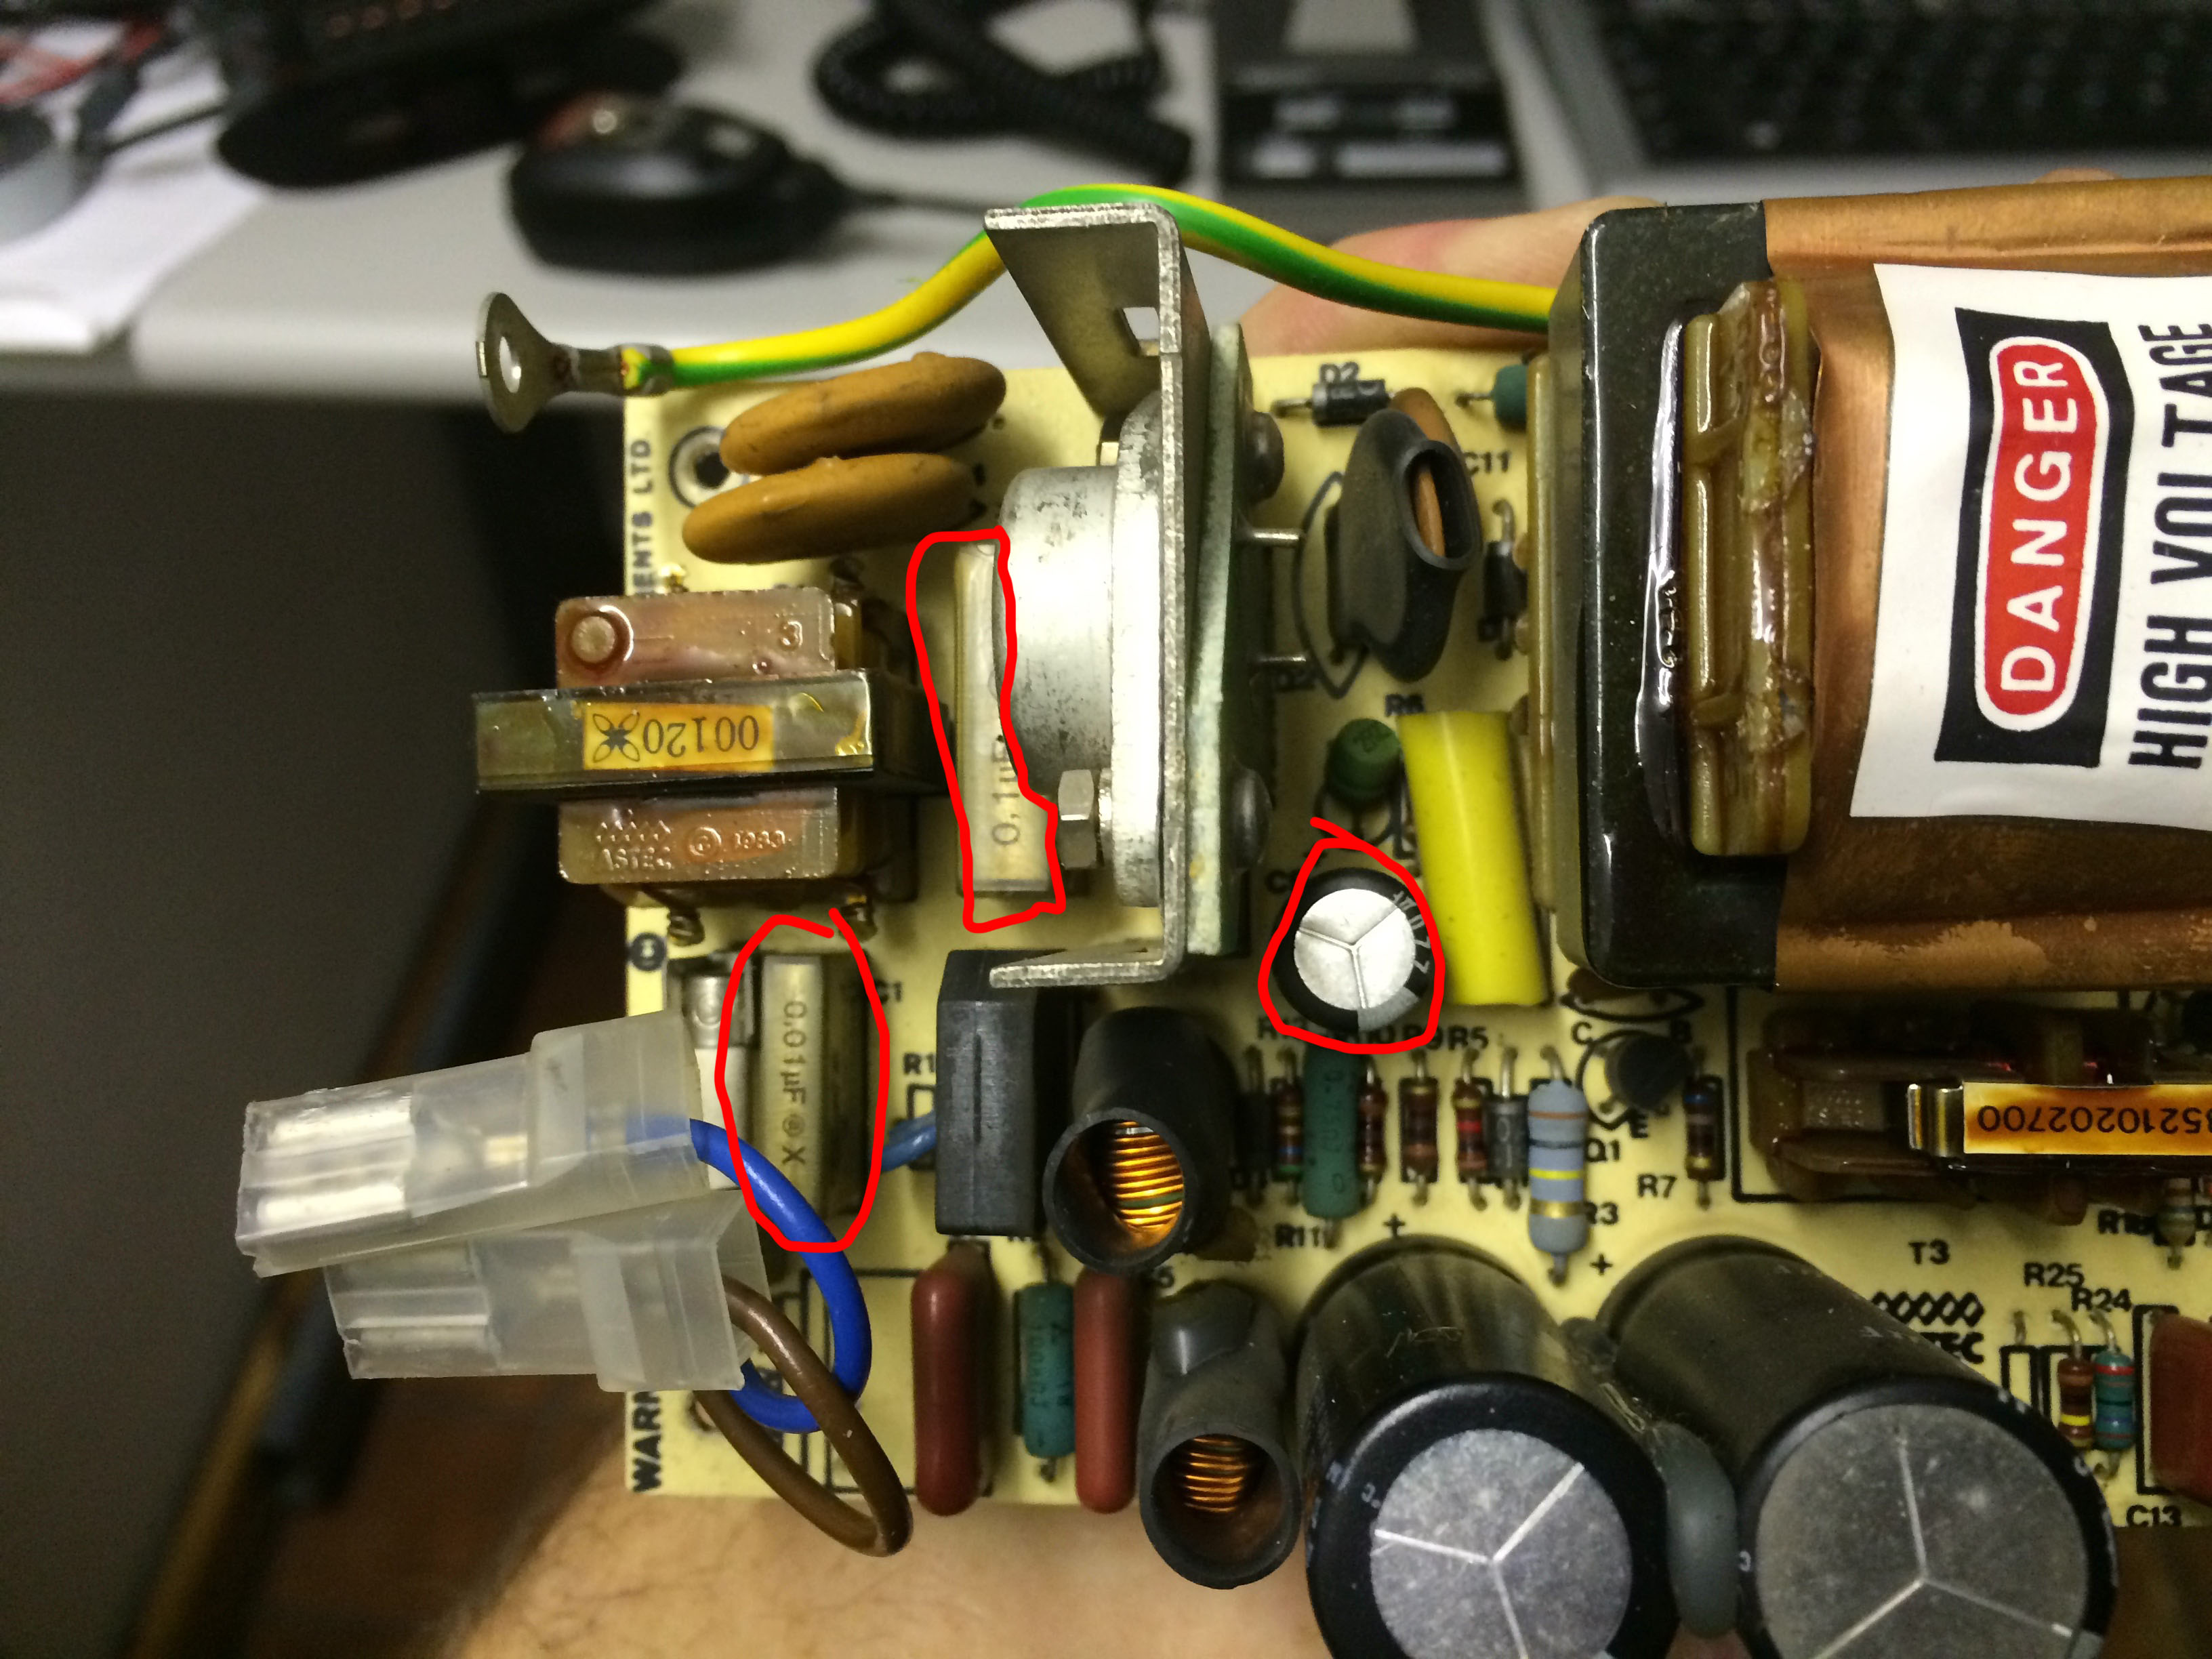
For simplicity, I picked up a kit from sprow.co.uk, just to get the PSU working again, and after 30 mins or so, the familiar double tone was heard. I will eventually change all the electrolytic caps in the PSU for peace of mind.
Everything had the looks of a 10-12 year olds bodge stamped all over it. Wires tacked in here, solder blobs there, a complete nightmare inside.
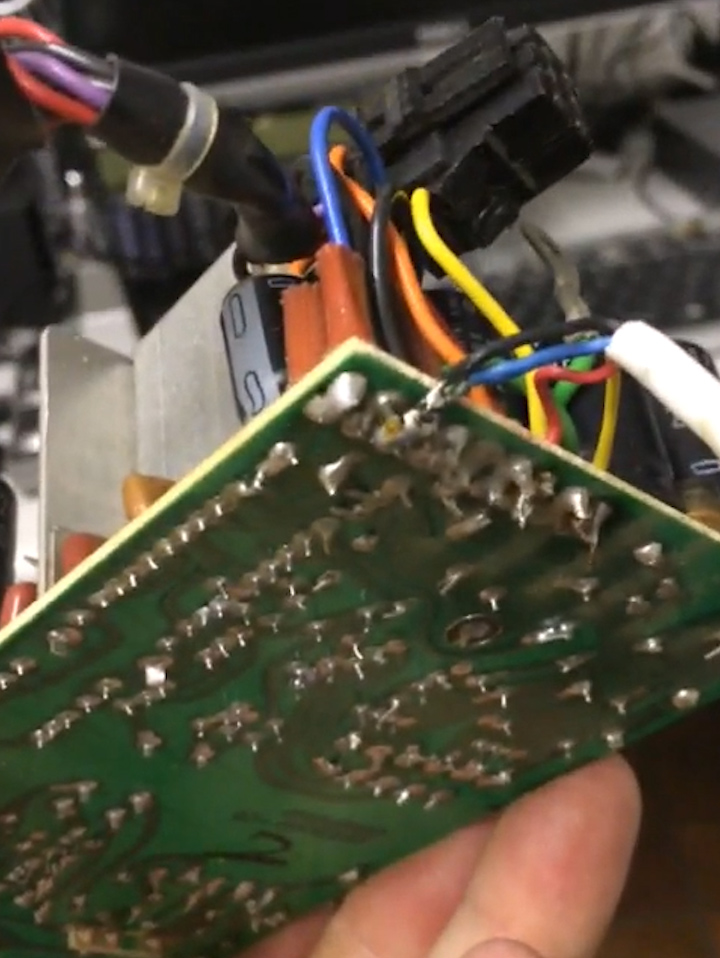
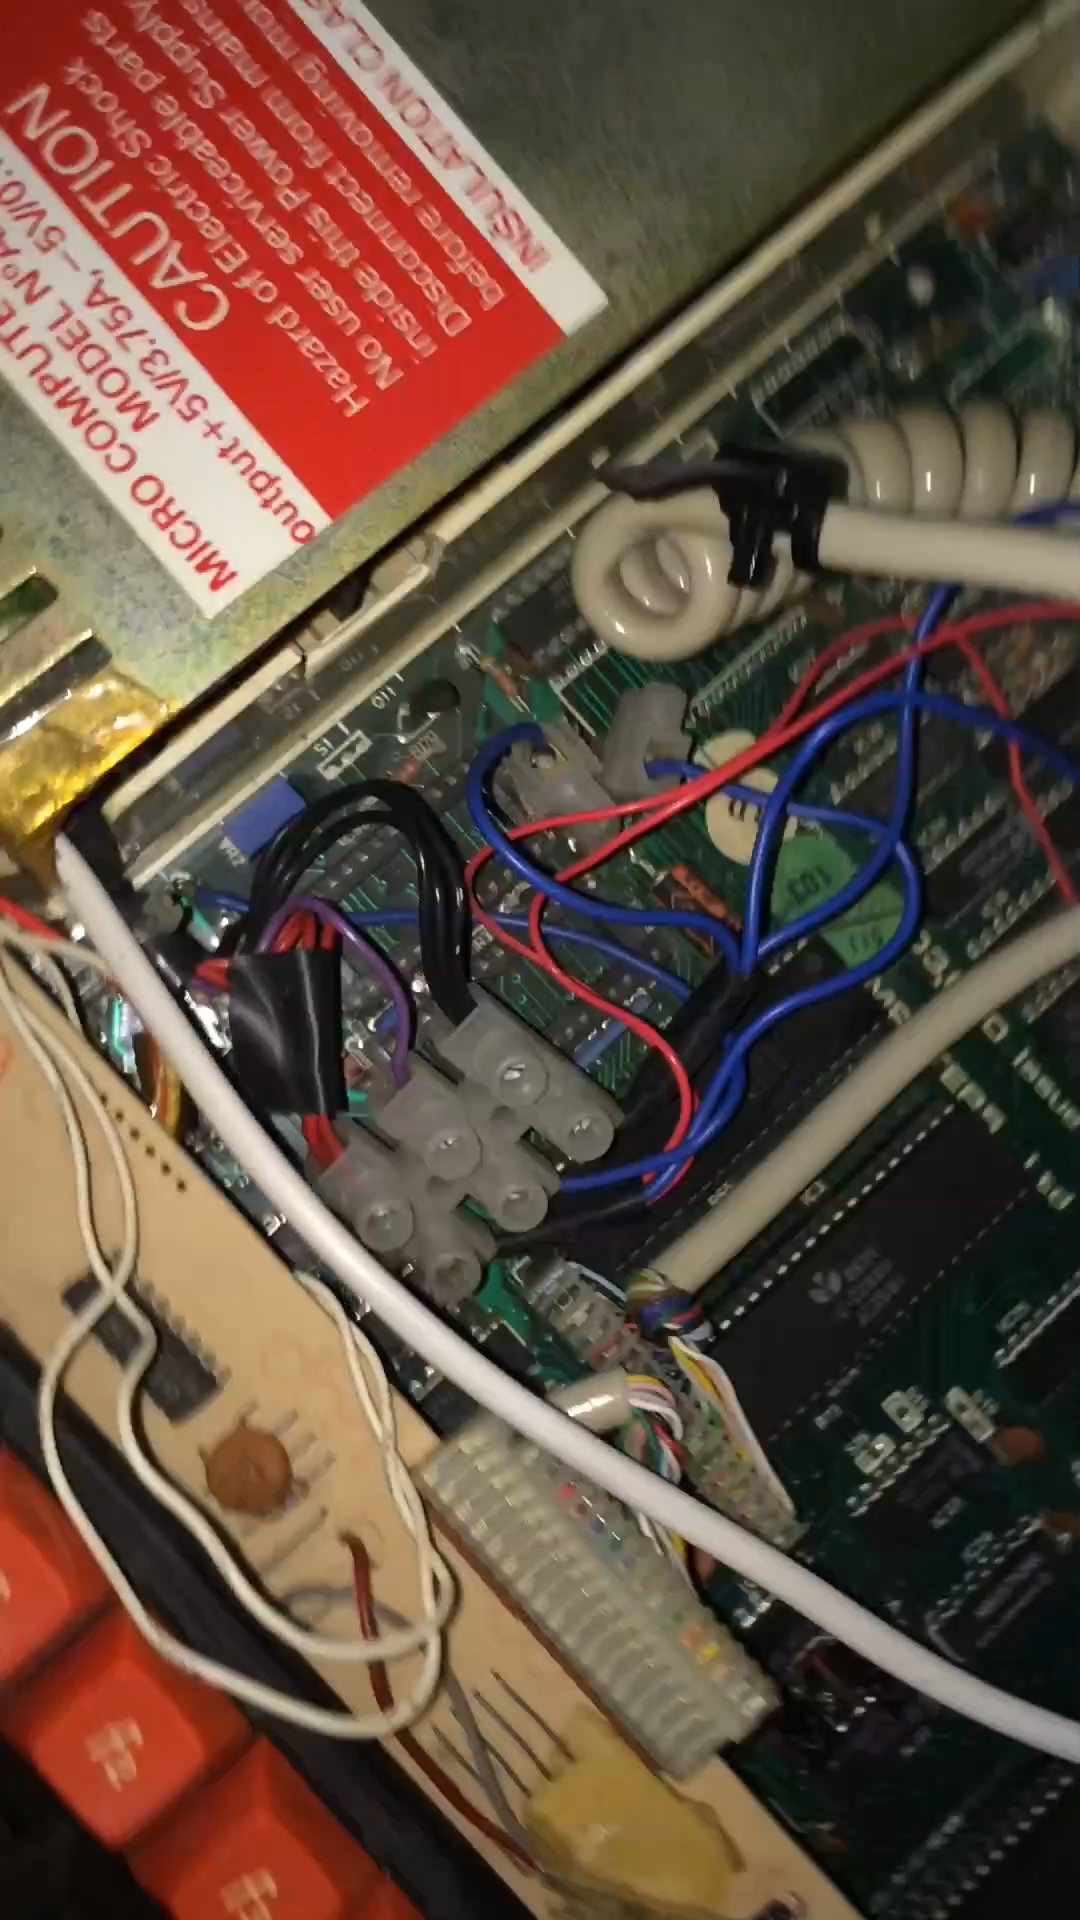
So, I pulled out everything, all the junk wires, the dodgy keyboard cable (which came from an old case that used to house the computer and had a remote keyboard), the 10k pot on cables for volume, chock blocks, it all got cleared away.
I replaced all the power cables, however some of the spades had snapped from the mother board, so I replaced those with dil header pins. The CAPS lock key on the keyboard seemed to be faulty, and after investigation the pad had been pushed off from the board. A small jumper to a piece of track fixed this.
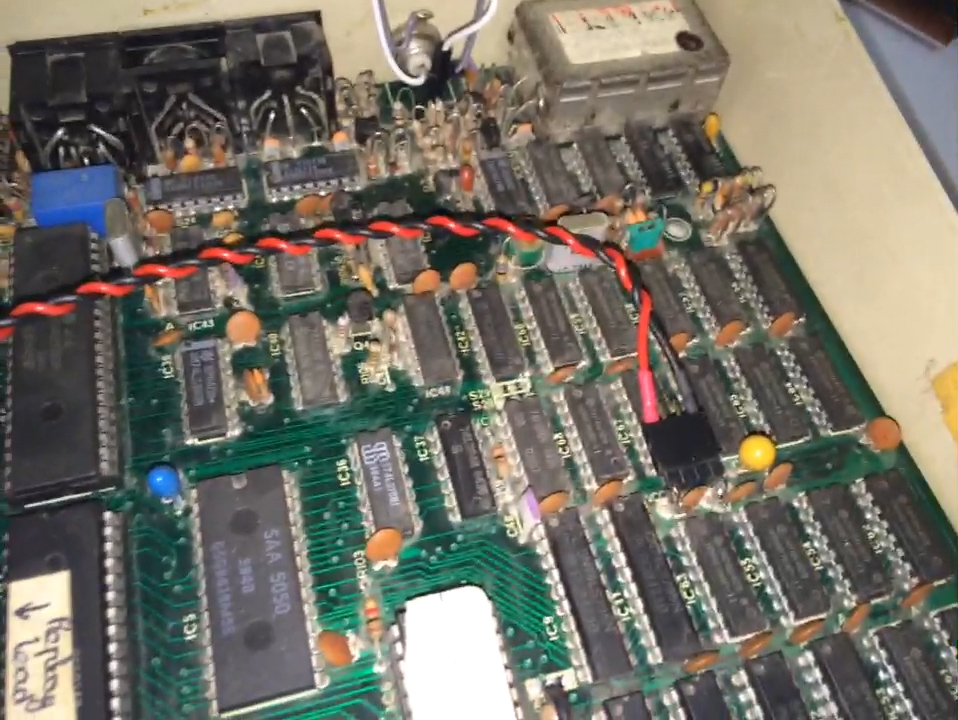
The composite video out connector needed fixing, the wires had been ‘ripped’ out of the motherboard. Things were getting better and taking shape. I gave the board a general clean up with some isopropanol and a q-tip.
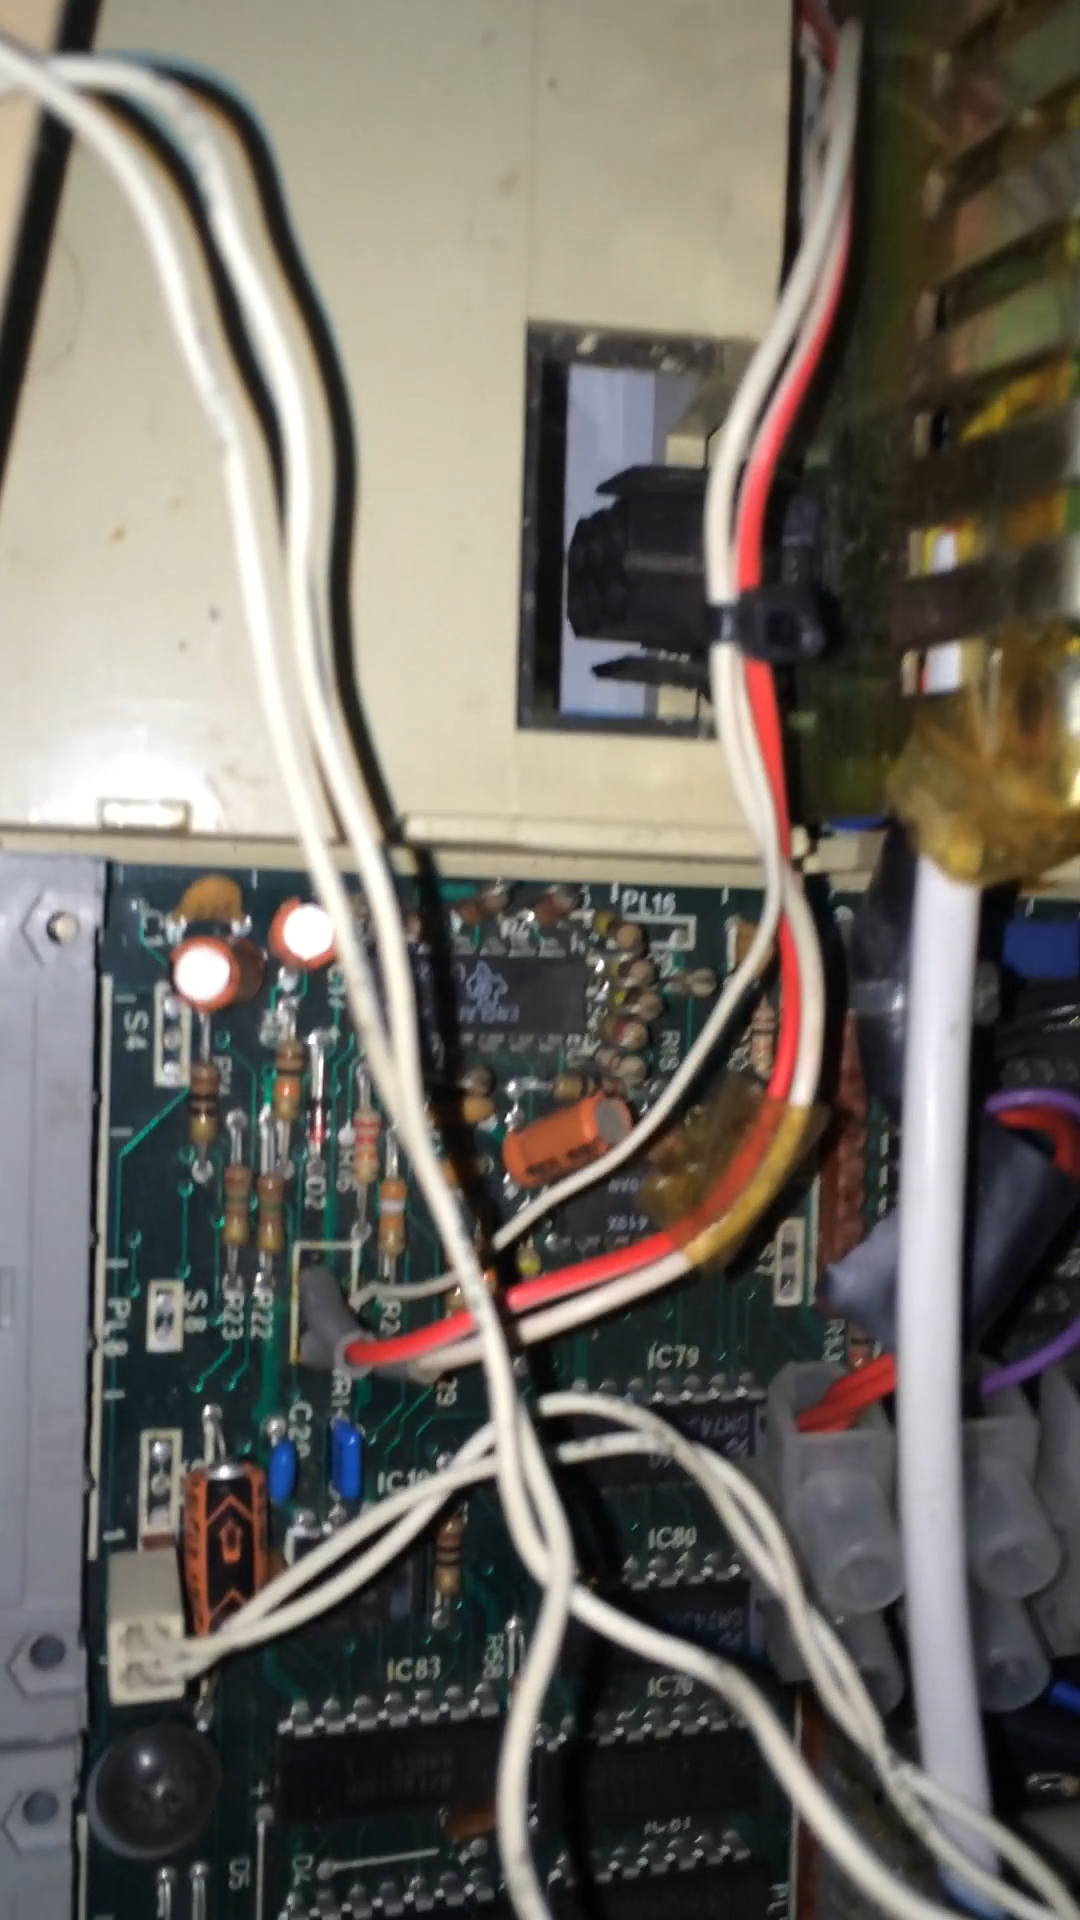
After some testing I noticed that the audio seemed rather quiet and would often crackle and become inaudible. I replaced the 10k pot with a 3296 variable resistor, not the ideal solution (needs a stupid number of turns, but hey ho). I decided to replace all the electrolytic caps on the mobo, so this was the next job, relatively easy. Audio still unstable, I decided to replace the LM386N audio amplifier 8 pin chip and swapped out with a modern replacement, which was not the best thing to do. The old chips were 1W, this new one 0.25W, so even quieter. I have noticed that the audio crackling has been reduced but not completely removed. Next plan is to swap this LN386N with a NJM386BD which is a 1w equivalent. I am also planning on swapping the quad op amp LM324, the chip before the LN386N.
I also picked up an MMC userport solid state disk drive, to act as a data store for the beeb, having lost the 40/80 track 5 1/4 inch drive over the years unfortunately.
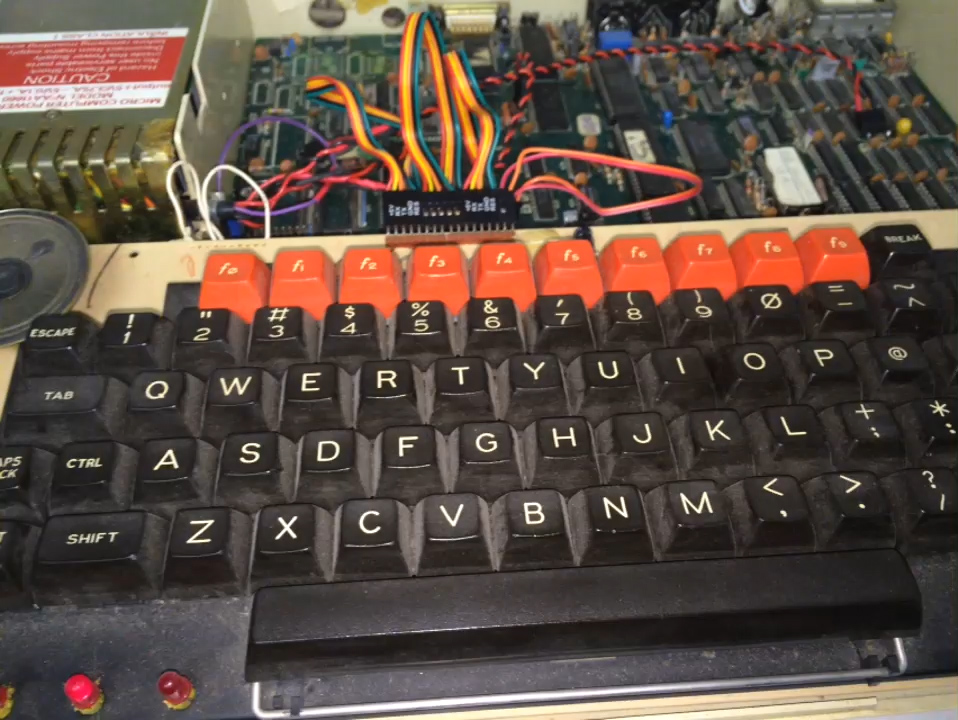
Upcoming plans are to replace the remainder of the PSU caps, fix some ceramic disc caps that have been chipped by extracting roms, connect it to a vga monitor via a gfx interface board from the ttl rgb output, get the old music 500 working and a number of other simple jobs. Chuckie egg, revs, elite and a bunch of other games were tested, and ran perfectly. Oh, I did enable colour on the composite out just to test things before the gfx board turns up. This final picture shows her with her lid back on. Happy days 🙂