A distance on 2m

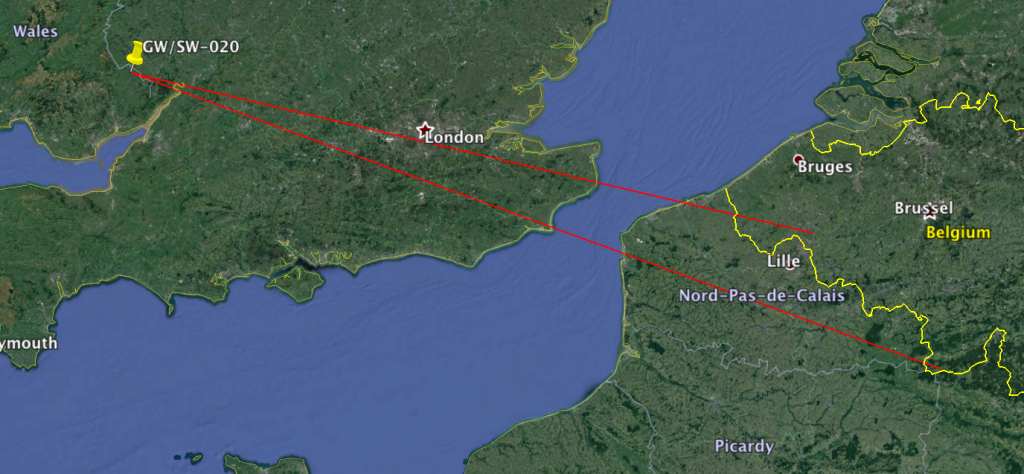
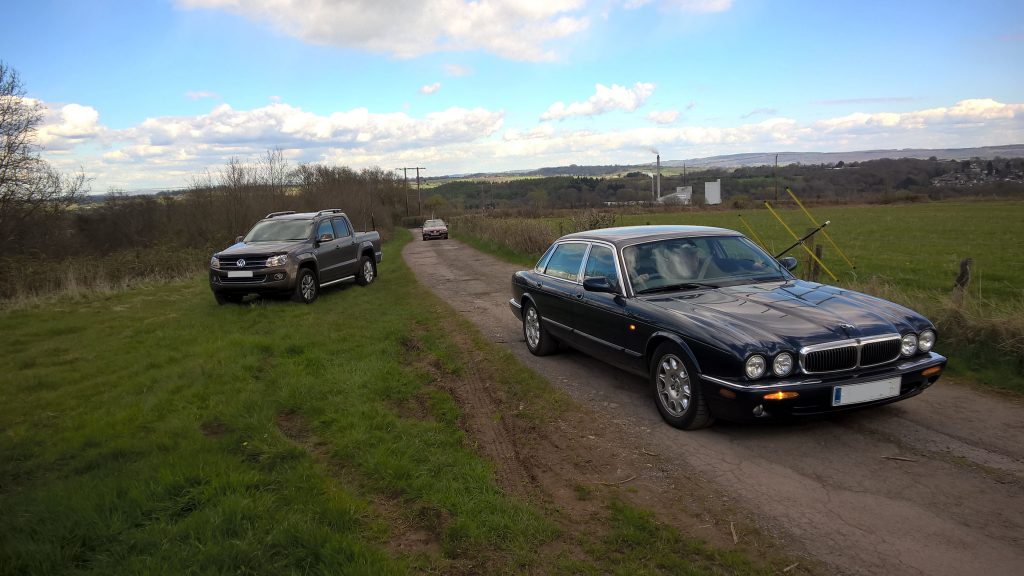
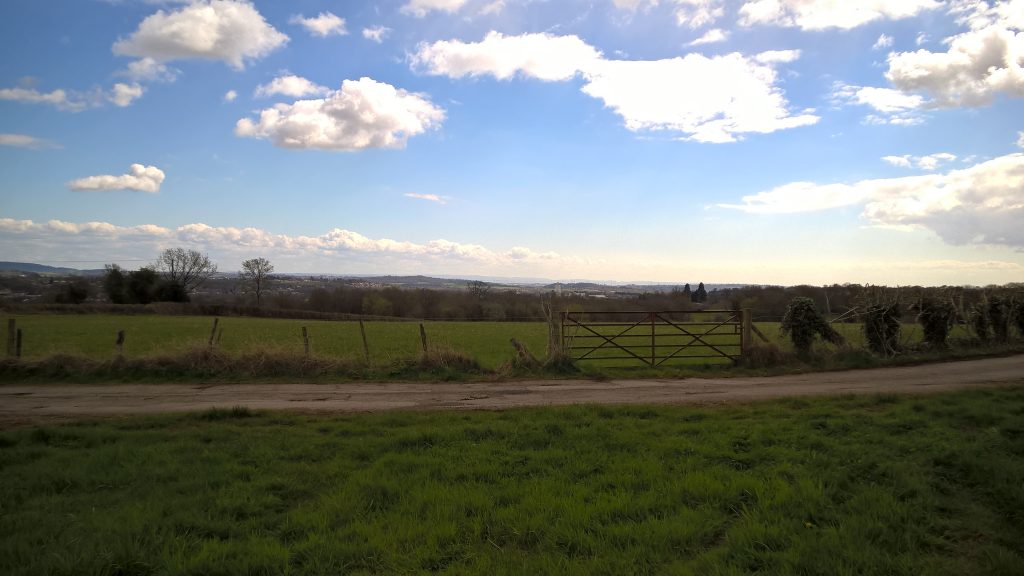
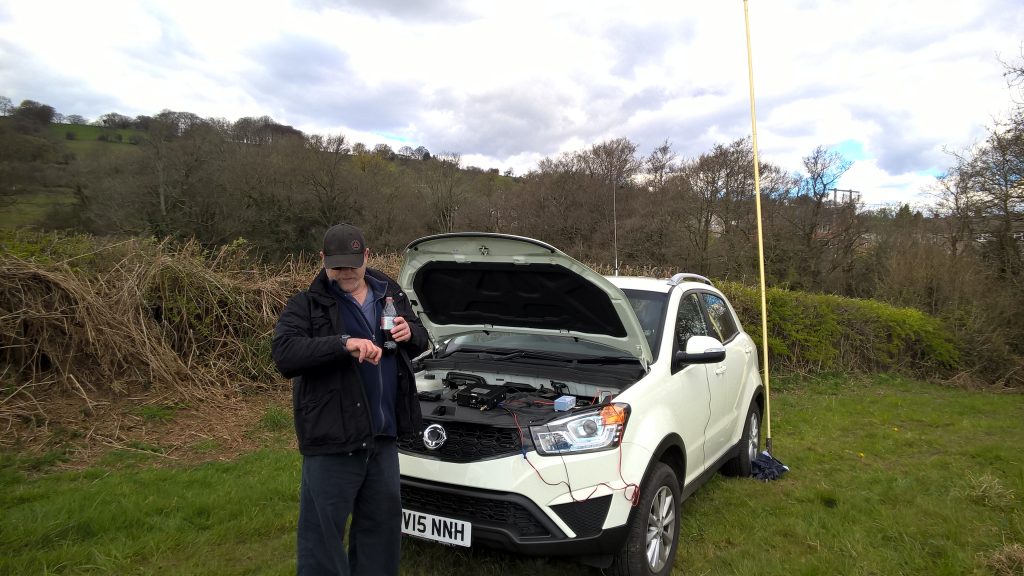
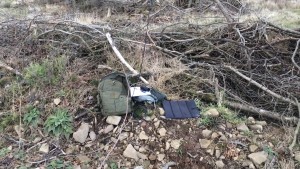
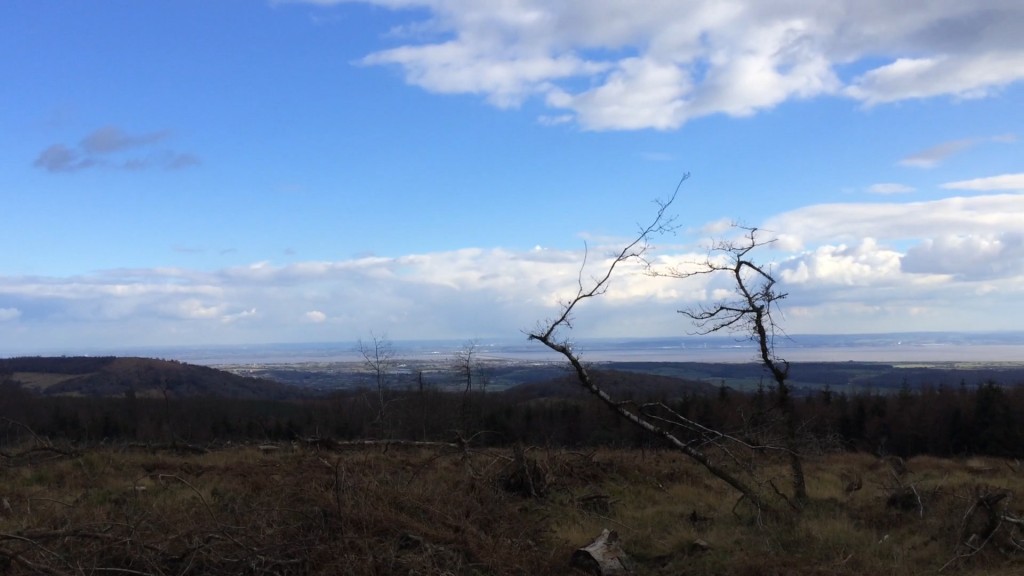
Well, I was having a tidy up in the office, and found a scrap of paper with two log entries on that I had forgotten about.  The contacts were made on the 4th June’16 during the CW National Field Day and the 6m field day, on top of GW/SW-020 (Edumund’s Tump).

I was using 100w SSB on 2m, and made contact with PN4CPN/p around 16:50utc, some 338 miles into JN29dx, with a 5/9 report both ways. Also ON6CK/p some 277 miles into JO10ps a few hours earlier, around 14:48utc, also with a 5/9 report both ways.

Interesting conditions. So much else going on that day I didn’t really have time to work any more.  I was using my original 4 ele 2m home brew beam, but this has now been reworked into a 7 ele. I will have to give it another go soon 🙂

Cheers for the contacts !  73

2m distance

BBC Micro Revival – Model B 32k

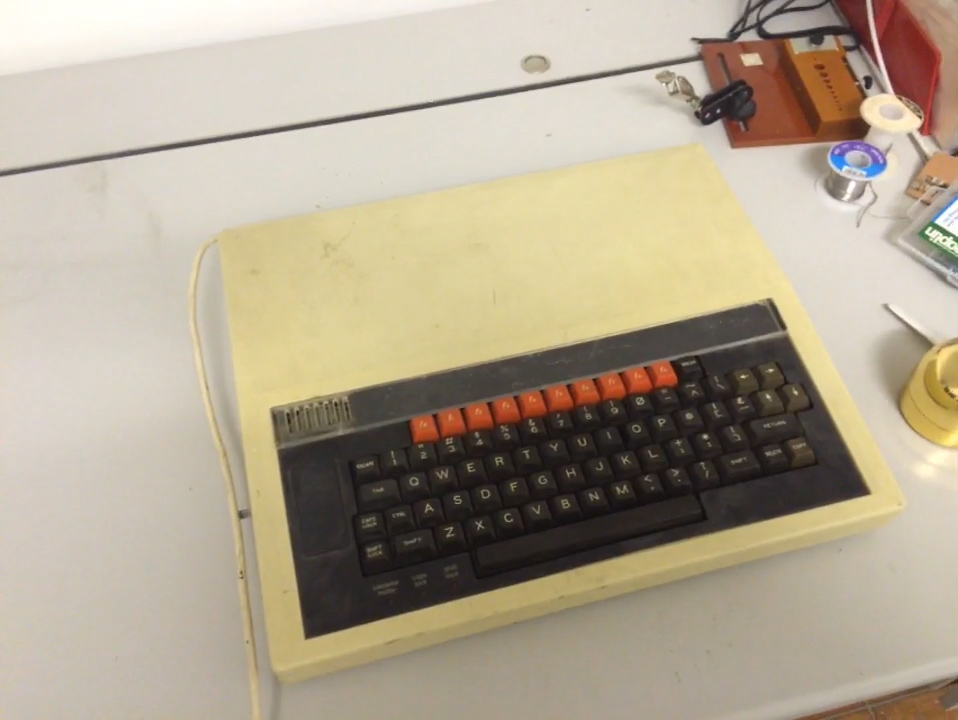
owlWell, over the years I have had loads of computers, some home brew, some commercial. They have come and gone, however, my Acorn BBC Micro – Model B 32k has always followed me around.  It was purchased second hand some 30+ years ago, after selling our beloved Acorn Electron. I can remember my mum taking me into a computer shop in Newport to look at a Sinclair Spectrum 128k with cash in hand, and telling her it would be ok to park on those lines as we were only going to be a minute. How wrong I was – parking ticket and clip around the ear later 🙂  My brother and I decided to go for a BBC Model B instead, and due to the price, second hand was the way forward. One was found, from a family in Bassaleg I seem to remember. Anyway, enough of the back story….

Or perhaps not….  For a good many years of my childhood, my brother and I used that BBC Micro, together with a friend Chris McCray we spent many a weekend, tweaking that, bodging this, downloading via prestel/teletext, listening to Music 500’s and other shenanigans. Fast forward 31 years, and my BBC Micro – Model B was in a sorry state, and would not switch on.
bbc1

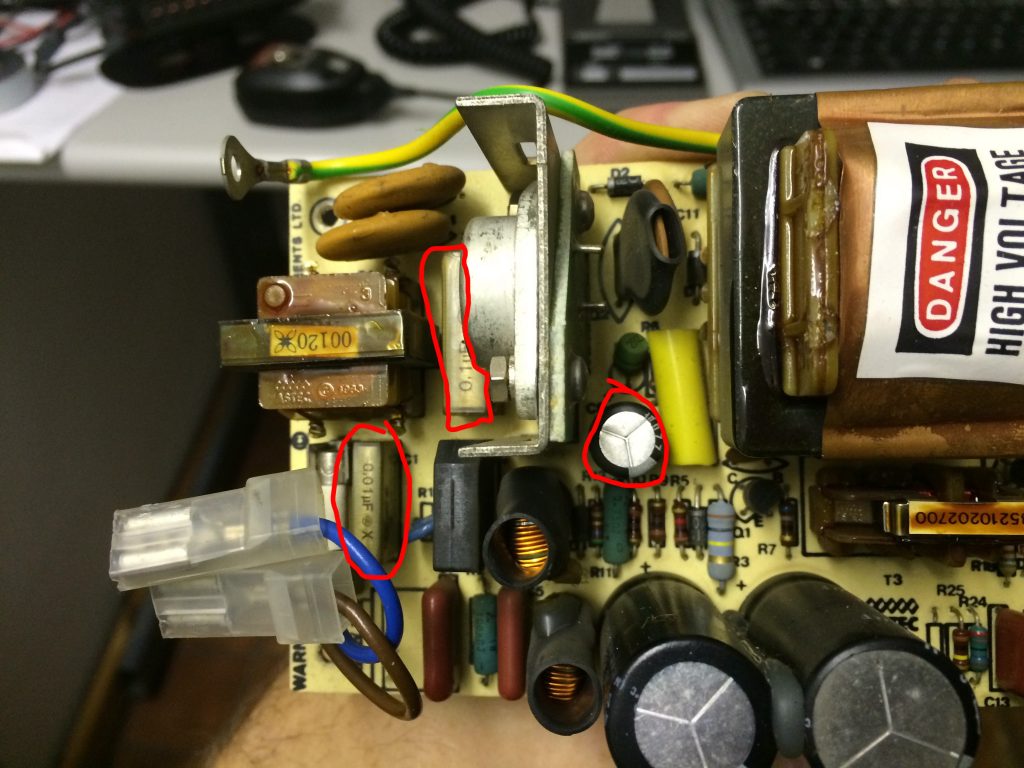
After some diagnostics, I discovered the PSU was not working, a bunch of capacitors need changing, specifically C1, C2 and C9 in the PSU.

  • C1 (0.1uF (100nF) X2 class capacitor) @ 250VAC (or higher)
  • C2 (0.01uF (10nF) X2 class capacitor) @ 250VAC (or higher)
  • C9 (220uF electrolitic capacitor) @ 10V
b2

For simplicity, I picked up a kit from sprow.co.uk, just to get the PSU working again, and after 30 mins or so, the familiar double tone was heard. I will eventually change all the electrolytic caps in the PSU for peace of mind.

Everything had the looks of a 10-12 year olds bodge stamped all over it. Wires tacked in here, solder blobs there, a complete nightmare inside.
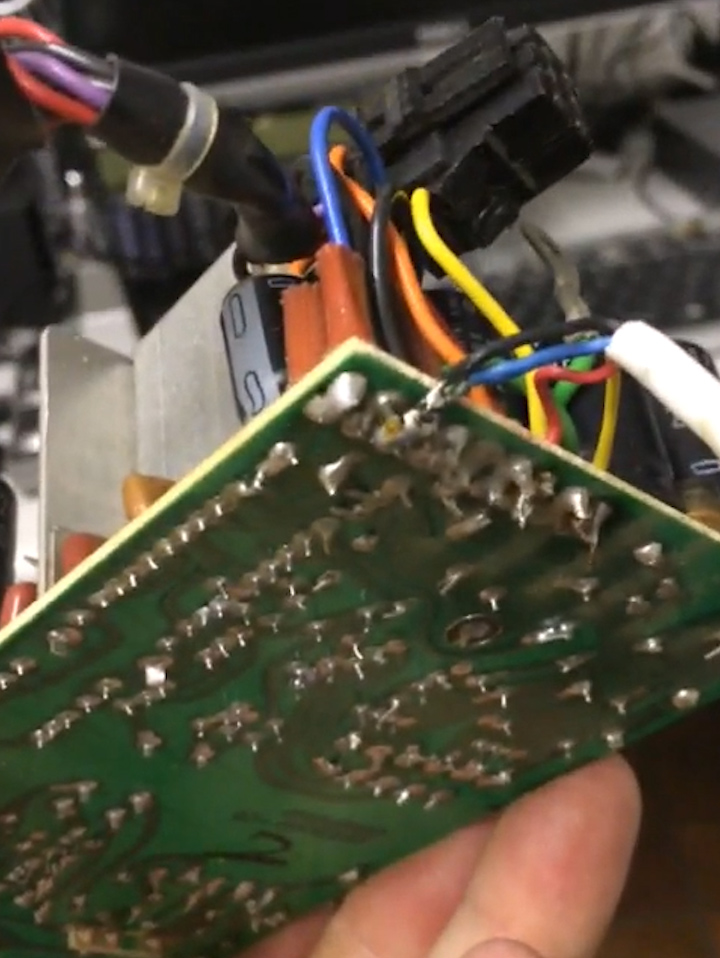
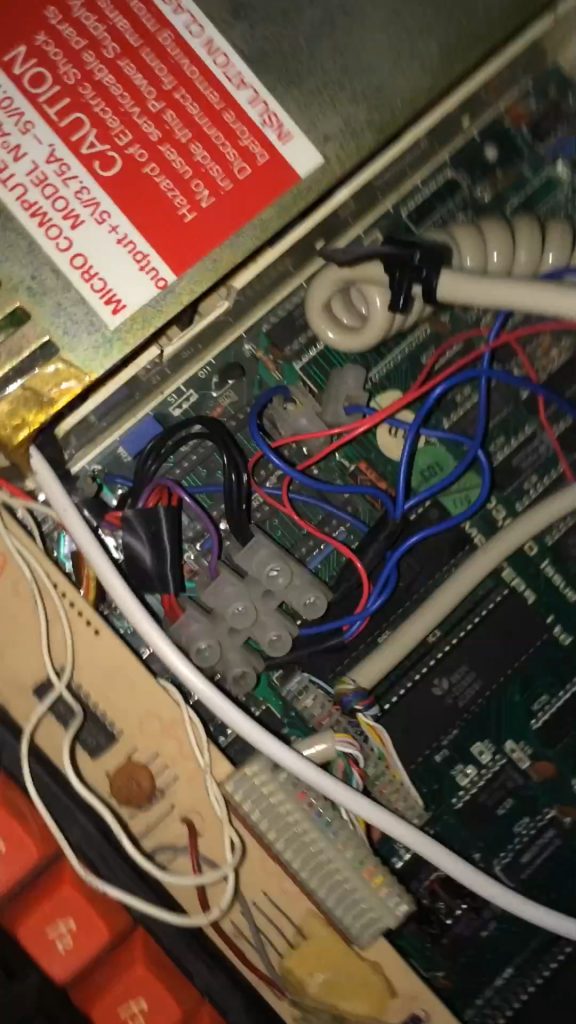
satate3 state state2

So, I pulled out everything, all the junk wires, the dodgy keyboard cable (which came from an old case that used to house the computer and had a remote keyboard), the 10k pot on cables for volume, chock blocks, it all got cleared away.

I replaced all the power cables, however some of the spades had snapped from the mother board, so I replaced those with dil header pins. The CAPS lock key on the keyboard seemed to be faulty, and after investigation the pad had been pushed off from the board. A small jumper to a piece of track fixed this.
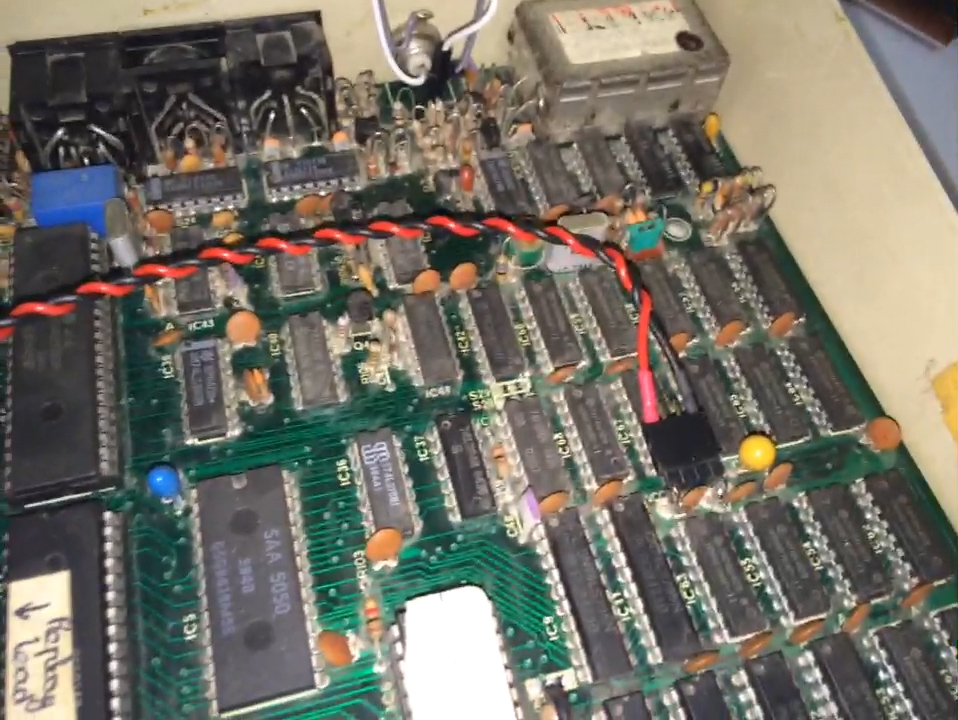
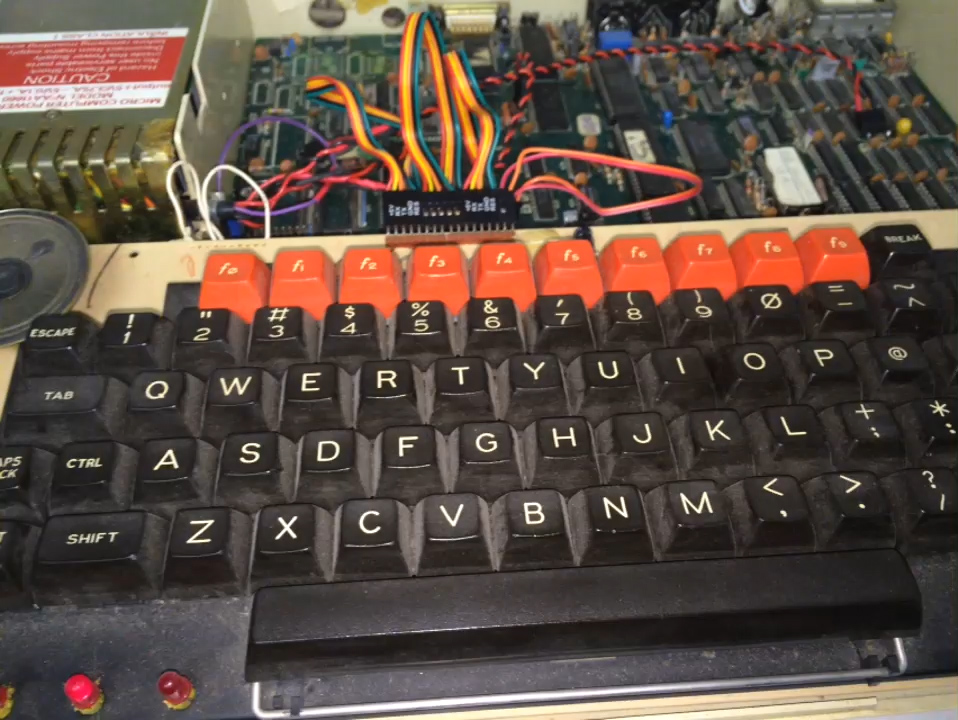
tidy1

tidy2

The composite video out connector needed fixing, the wires had been ‘ripped’ out of the motherboard.  Things were getting better and taking shape. I gave the board a general clean up with some isopropanol and a q-tip.

After some testing I noticed that the audio seemed rather quiet and would often crackle and become inaudible. I replaced the 10k pot with a 3296 variable resistor, not the ideal solution (needs a stupid number of turns, but hey ho).  I decided to replace all the electrolytic caps on the mobo, so this was the next job, relatively easy.  Audio still unstable, I decided to replace the LM386N audio amplifier 8 pin chip and swapped out with a modern replacement, which was not the best thing to do. The old chips were 1W, this new one 0.25W, so even quieter.  I have noticed that the audio crackling has been reduced but not completely removed. Next plan is to swap this LN386N with a NJM386BD which is a 1w equivalent. I am also planning on swapping the quad op amp LM324, the chip before the LN386N.

I also picked up an MMC userport solid state disk drive, to act as a data store for the beeb, having lost the 40/80 track 5 1/4 inch drive over the years unfortunately.

Upcoming plans are to replace the remainder of the PSU caps, fix some ceramic disc caps that have been chipped by extracting roms, connect it to a vga monitor via a gfx interface board from the ttl rgb output, get the old music 500 working and a number of other simple jobs.  Chuckie egg, revs, elite and a bunch of other games were tested, and ran perfectly. Oh, I did enable colour on the composite out just to test things before the gfx board turns up.  This final picture shows her with her lid back on. Happy days 🙂
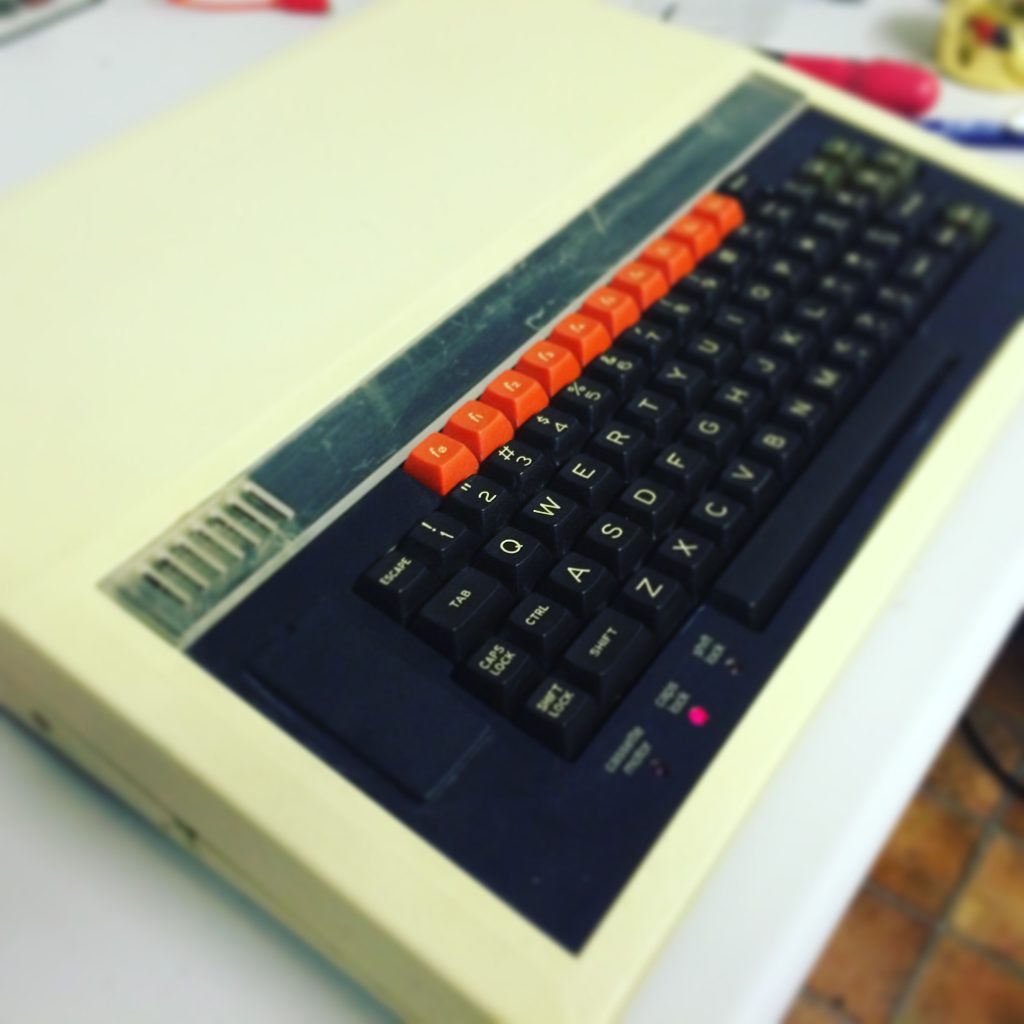
final1

Another 2m CADARS Net – Magor Wetlands

So, with the disaster that Sunday turned out to be, with all the access roads to local mountains blocked by the cycle event down here in Newport and surrounding areas, I decided to head out last night (Monday) to the local wet lands here in Magor. I was sending out APRS positional info on 144.800 and pulled the following two maps from APRS.FI, a great website for aprs info.

Magor Wet Lands

I parked up between a number of reens, what a fantastic spot for the evening.

Magor Wetlands Parked Up

As I was driving down the track, I saw a swan floating around. Lovely looking creatures and I counted at least 6 of them down there.

Initially I had the SG7900 antenna from Diamond attached to the mount on the landy, but signals were quite down. The height according to the GPS is roughly 6m ASL here, so very low lying. Dave GW7RQM was the first on frequency, just after 7:30pm, followed by Chris 2W0OGY. I decided to stick up the painters poll mast (about 5m) with the antenna on top.  Signals improved vastly, at least 4 s-points of improvement, with the same antenna, in the same X-Y space, but at greater altitude and a different feeder (note to self : must test feeder loss on the roof rack mount).

Stations in order of appearance :

GW7RQM – Dave – 59
2W0OGY – Chris – 56
MW6UNY – Lee – 59
GW0OZB – Andrew – 59
MW0RPB – Pete – 59
2W0EID – Russ – 53 mid (51 low)

We had a good natter to around 8:30pm and everyone headed off.  I put a few calls out on 145.500 but no takers, perhaps the 2m signals not getting out too well from there.  The sun started to set so it was time to take a couple of pictures and videos.

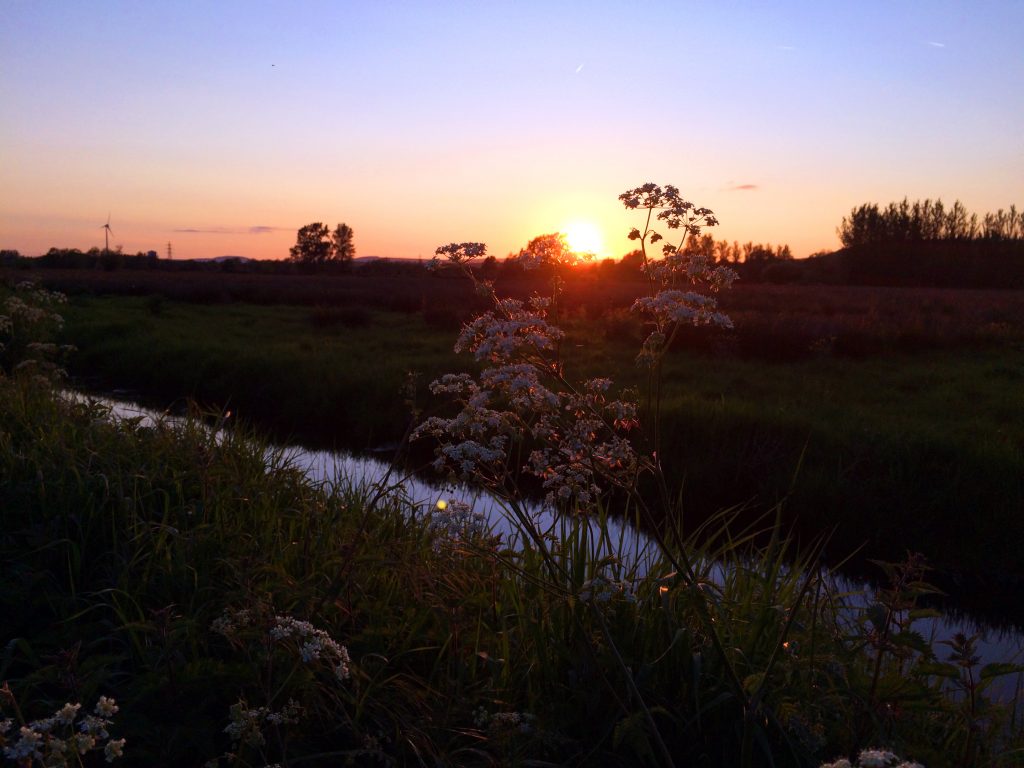
Magor Wet Lands Sun Set

What a lovely sunset to round off the evening down there. Thanks to all the stations that called in.

73

New Call Sign – MW0LGE

Well, after lots of study, and an agonising wait I now have my full call sign, MW0LGE 🙂

Thanks to Ross (GW3NWS) at the Newport Amateur Radio Club, and all those involved with the Bath distance learning course especially Bob Jones (GW4FCV) and Steve Hartley (G0FUW).

73 🙂

CADARS Spring Fox Hunt 2016

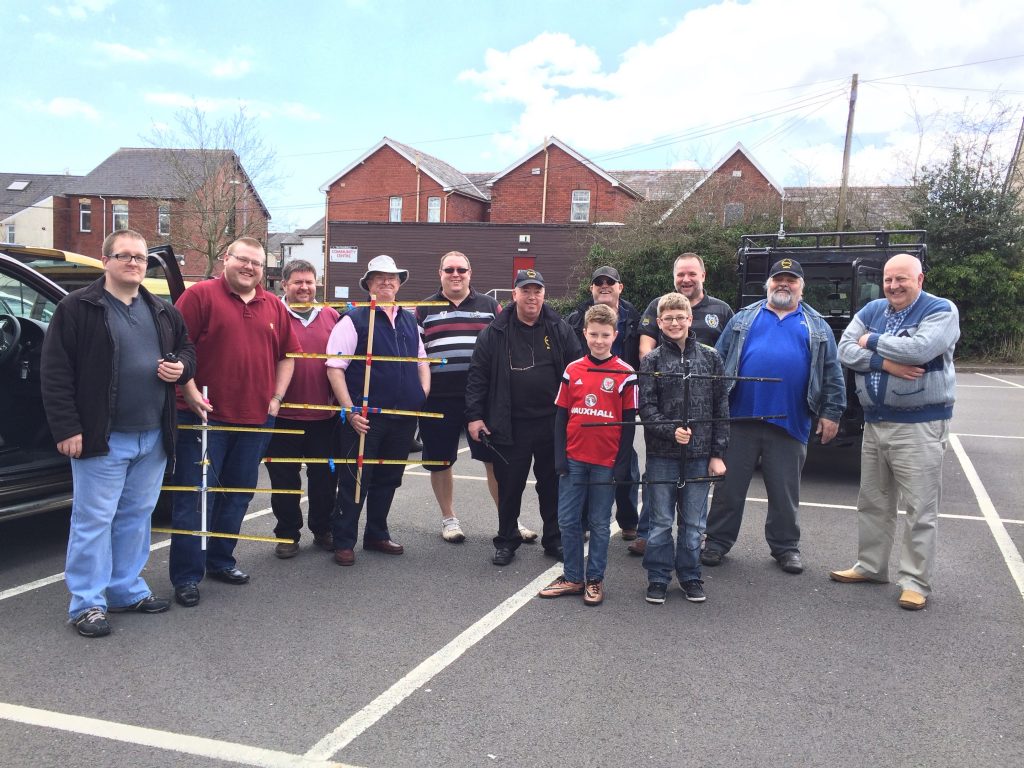
So, it was the day of the event, all the equipment checked out. The Yaesu FT1XD handy fully charged, and the 3 ele 2m tape measure beam was in good shape. We all gathered in the carpark off Victoria Street in Cwmbran. My brother Julian joined me and he was the designated driver.

Fox_hunt_2016

Dave RQM had a great setup on his car, his 2m and 70cm beam attached to the bike rack mount. Next time I think he needs a small rotator on there as well, so he can do it all from the comfort of the driving position 🙂 With his compass around his neck he was definitely on the way to glory, or was he?

dave_yagi IMG_3705

Chris OGY and Mark MKG drove off and started sending out the beacon around 13:55. To be honest the signal received in the carpark was fairly wide, in that the beam could be turned a fair bit and the signal still received even with lots off attenuation. Thinking back on it, this should have caused alarm bells to ring, but at this stage I was oblivious.  So I started releasing the teams/cars around 14:00 at 5 min or so intervals. There was one car that had a distinct advantage, more on that later. We were the last to leave.

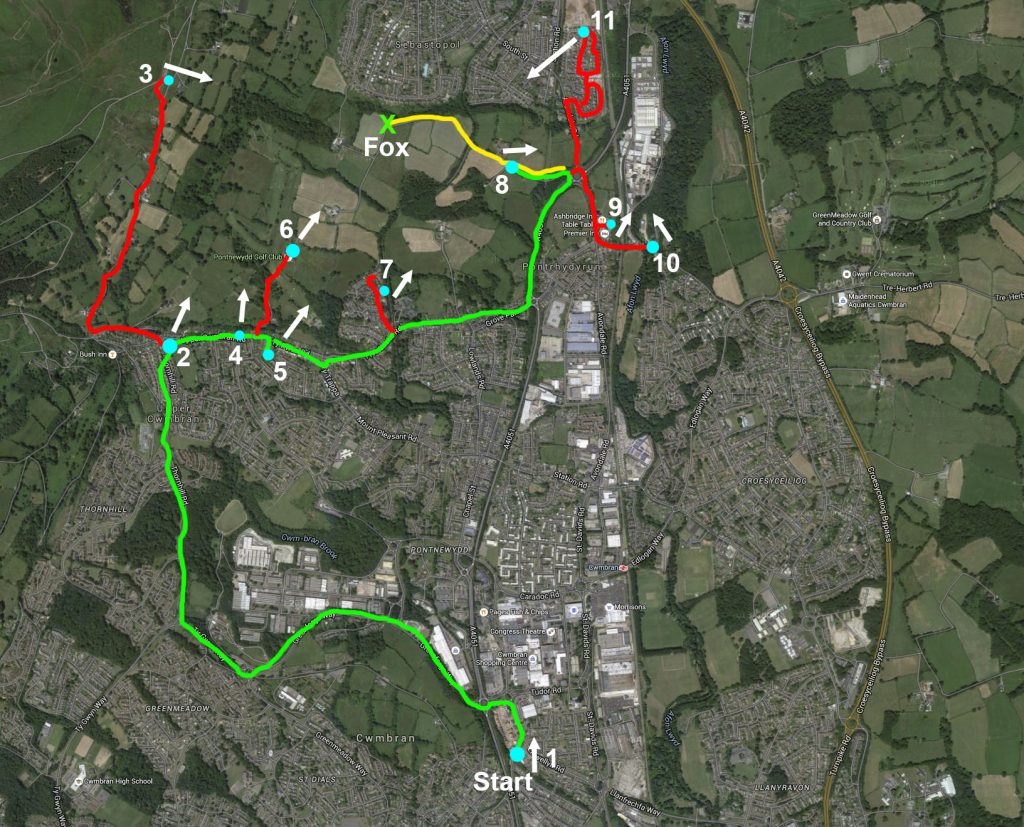
The following map show all our fixes :

fixes

Point 1 – Starting position, this was a fairly good fix, although it was quite wide at this point. So we decided to head to some high ground to try and get another.
Point 2 – We got another good’ish fix here, although houses were probably having some effect. We decided to head up to even higher ground.
Point 3 – We passed Ken and Pete here, I guess before their exhaust fell off (excuses excuses) and headed all the way up to mountain air car park. 10 mins in this lane due to a tractor coming down the hill will lots of cars. We got a very good fix here for obvious reasons, and if we had looked hard enough could have probably seen the fox at position X.
Point 4 – this was a double check, as we didn’t really want to go too far
Point 5 – another double check, but we decided to go to point 6 here, as we thought the fox might be playing golf !!
Point 6 – a good fix here, frustration starting to set in. We were in the golf club and having to toot our horn as we drove over the fairways….. rofl
Point 7 – this was another double check fix really, honest guv !
Point 8 – Now this is were things went BAD BAD BAD. Look how we got totally confused here. The fox was actually directly behind us, but we were in the shadow of its signal, behind a small rise. The signal was now bouncing off the old Rechem chimney and buildings. OH NO !!!!!
Point 9 – Another reflection from the chimney !!  In the pub car park no less.
Point 10 – …. and another… damn that chimney !!
Point 11 – Ok this was it, heading back on ourselves. We got lost in this housing estate for a while, a maze !!!
Point X – Ah ha, we found it, after a bit of coaxing from the fox, we made it, some 1hr 12mins or so after set off….. argghhhhhh

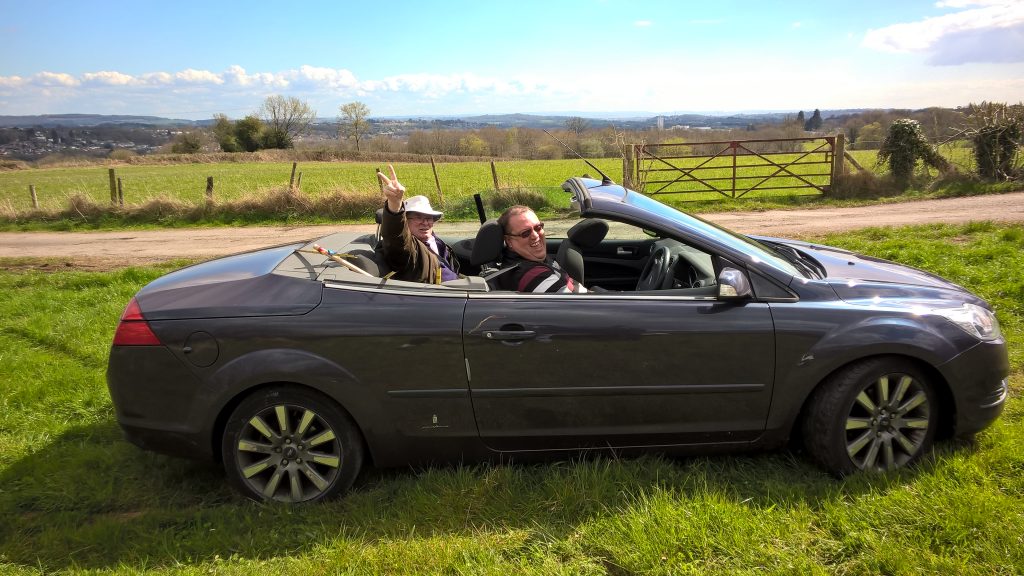
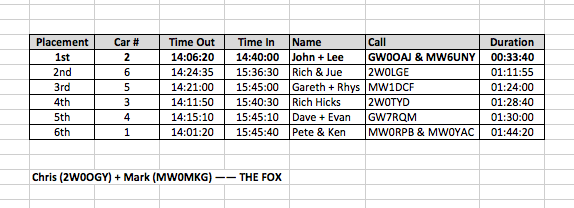
So we finally got there, in second place. John OAJ and Lee UNY were the first there, aided no doubt by Lee’s heavy right foot and the open top where John could run the yagi whilst driving. That’s my excuse anyway…. haha. John and Lee below can be seen in the DF winning vehicle. Good stuff chaps 🙂  At least you two will be setting up the fox next time, so everyone else can stand a chance… haha. Although saying that, John will probably run 0.1 watts, attached to a farmers fence 🙂
foxhunt_2016_victors

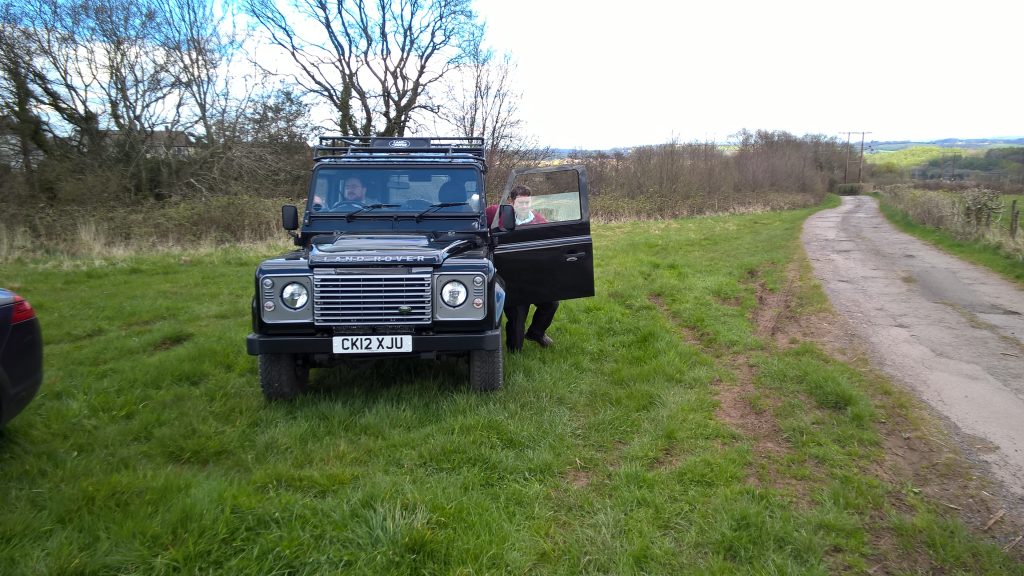
You can see me here, running in joy from the Defender, finally !!!!!!  What a reflection nightmare it turned out to be.

finally

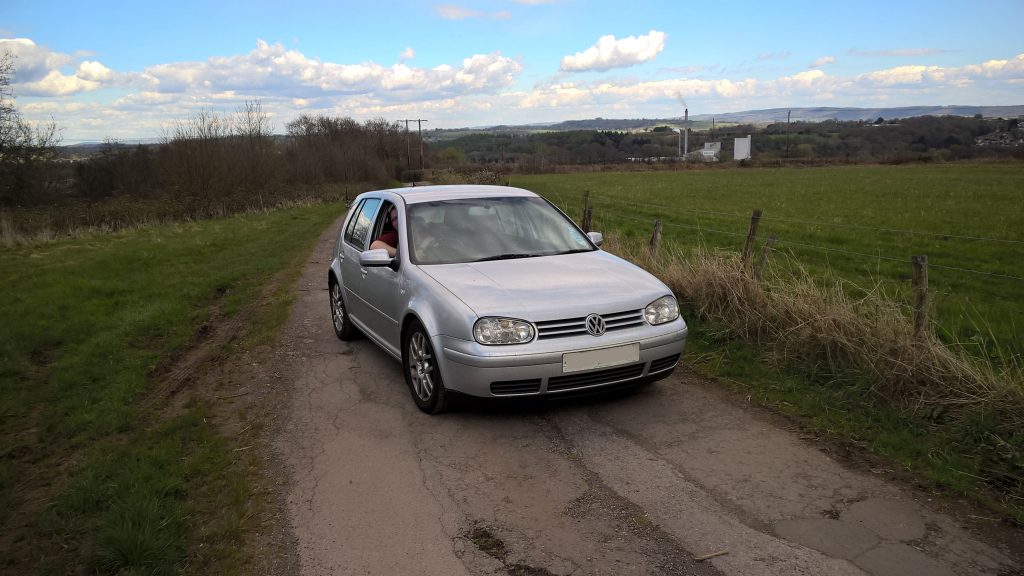
The final times for the remainder of the guys were quite close, Rich Hicks drove in next, but due to release time he was actually fourth.

WP_20160417_15_41_52_Pro

And everyone else came in together. Ken/Pete, followed by Gareth/Rhys and then Dave/Evan.

WP_20160417_15_44_48_Pro

The area that Chris and Mark had found was a nice spot indeed, the reflections from the buildings and chimney showing how difficult DF’ing can be.

f1

Chris looking at his watch thinking blimey, what is taking them so long…..

chris_time

John recovering from his win… well done you two !

toomuchlikehardwork


Thanks to all that attended and made it a fun afternoon. Most of us headed off to the local pub to laugh off our exploits and to try and work out where we had gone wrong.

The final results were in….

results

There will be a presentation at this weeks club night to the victors.

73 all, and thanks to my bro for putting up with my impatience 🙂
CADARS 2m Net

It has been a while since I set up a portable station specifically for a club net, but decided to head out last night for a welcome change.

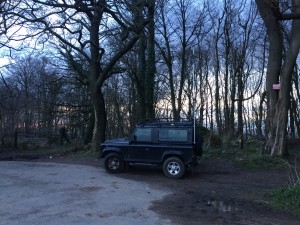
I turned up around 7:30pm at the Catsash high point, at the top of Caerlicken Lane, and got set up in about 5 minutes or so. The Diamond SG7900 antenna on top of the painters pole (£15 ally painters pole from B&Q – 5m long), and some Ultraflex7 run through the side window and connected to the radio.

Stations started showing around 7:40pm, a small turn out.

2m_painter_pole

Dave, GW7RQM was first up, 5/9 his signal, followed by Chris, 2W0OGY also a 5/9 and finally joined by Jim, MW6MUN also a 5/9.

We all had a natter until about 8:20pm when I headed off to see if I could contact any more stations. I made a couple of calls on 145.500 and also contacted some usual suspects.

GW0AVW (Terry) 5/9 – Caerphilly
GW0OGO (Steve) 5/9 – Magor
M6JJV (Steve) 5/3 – Berkley Gloucester
M6MQB (Mat) 5/8 – Glastonbury town
M6AIX (Darren) 5/9 – Weston-super-Mare
M6STL (Steve) 5/9 – Avonmouth

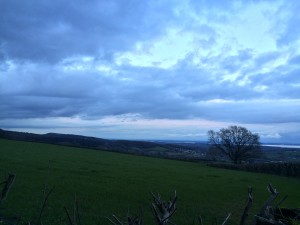
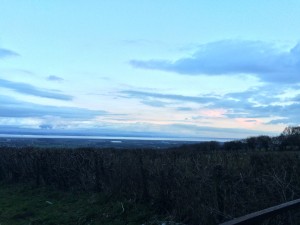
A great view from up on top, roughly 600ft ASL, Denny Island clearly visible.

denny-island view1_catsash

view2_catsash

A nice couple of hours out of the house. Cheers for the contacts. 73

Another 2M tape measure yagi

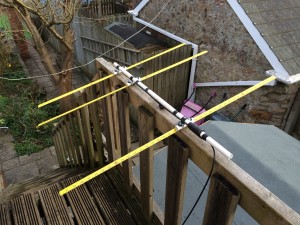
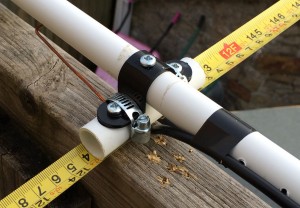
Last year the Cwmbran and District Amateur Radio Society staged a fox hunt and a number of us built 3 element tape measure yagis using measurements provided by a fellow club member, Pete MW0RPB.  This year I decided to rebuild mine, and rework the dimensions using a great yagi design program from John Drew – Yagi Calculator. I used jubilee/pipe clips, some plastic conduit, conduit saddle clamps and a bunch of screws. It should be noted that for these calculations the dimensions of the elements were 21mm wide and 0.5mm thick, with non metal boom.

fullyagi yagi_construction

Design frequency was 145.000 MHz the centre of the band.

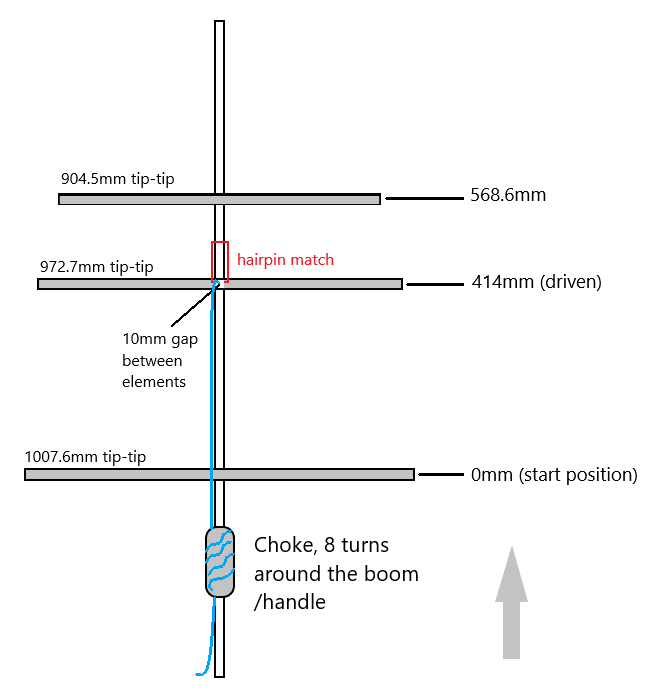
Reflector length 1007.6mm tip to tip, solid, at 0mm boom position (the start position)
Driven length 972.7mm tip to tip, with a 10mm gap, at 414mm boom position
Director1 length 904.5mm tip to tip, solid, at 568.6mm boom position

Note: The driven is tip to tip measurement, this includes the 10mm gap at the centre. The boom positions should be marked on the boom from one end, starting at 0mm then 414mm and finally 568.6mm.

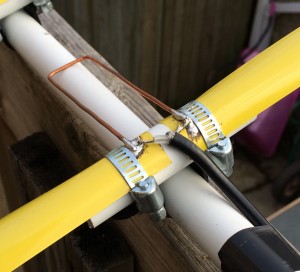
A hair pin match was made from some 2.5mm bare copper wire (from twin and earth mains). The dimensions for this 85mm long and 25mm wide. The paint/covering on the tape measure was scratched off/filed and tinned heavily.

hair_pin

The coax feeder was cut to and odd half wave length (* velocity factor) of the design frequency, 0.66 being the VF for RG58. The number 5 being an odd number of half wavelengths long, you can pick any odd number for this to give you your length of coax. Have a read of this if you are interested in why this is done.

feeder length (meters) = ( (150 / 145.000) * 0.66 ) * 5

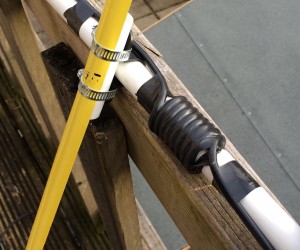
An RF choke was added at the end of the conduit using some of the feeder, so make sure you pick an odd wavelength long enough to include enough for the choke.

rf_choke swr_curve

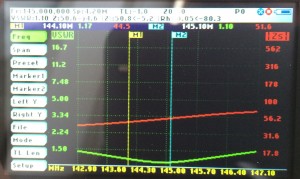
The results speak for themselves, what a cracking antenna, see the swr plot above (thanks George for the lend of the Sark-110).  I had a QSO on 5w with a station 37 mile away from Magor, on the ‘white horse hill’. The 3 ele giving 6.9dBi gain.

Have fun making yours !

73

Upgrades !

I decided to add another two directors to make a 5 element yagi. I found some 22mm alkathene that would slide over the conduite and allow me to extend the boom.  The 5 ele giving 9.9dBi gain.

Director2 length 894.6mm tip to tip, solid, at 940.7mm boom position
Director3 length 885.5mm tip to tip, solid, at 1115.2mm boom position

Signal reflections – Fox Hunt pitfalls

So in readiness of the upcoming fox hunt (an exercise in direction finding), I disassembled my existing 2m ‘tape measure’ yagi and rebuilt it with some re-worked numbers. I will do a full article on the construction at some point.

I wanted to do some testing with Dale, 2W0ODS, his QTH is the other side of Newport. Anyway, 2m FM handy and the new ‘tape measure’ yagi in hand, Dale started giving a prolonged over via his omnidirectional collinear. I quickly ‘zeroed’ him in and obtained a heading for max signal strength. Just to note, my qth is low down, 6m or so ASL, and behind the rise that the motorway/roundabout/brewery sits on.

See the following for the results, quite amazing :

The blue/cyan line is the direction of strongest signal with the yagi

The red line is line of sight. As you can see it passes through Magor brewery, a large lump of metal with 100’s of smaller metal barrels.

The green line is plotted from Dale’s QTH and is hitting one of the Tesco distribution buildings and is no doubt reflecting off the side of this building.

reflections

The size of the building compared to the 2m wavelength is of many orders of magnitude greater. To get an idea of how big something needs to be to ‘reflect’ a 2m signal then you only need to look at the size of the reflector on the yagi itself, something like 1005mm.

This was great to be able to visualise the signal path, and perhaps that Tesco building is making it possible to talk to Dale on 5w the other side of Newport.

Remember, fox hunt and direction finding can at times lead you ‘up the garden path’.

73

Coity Mountain – SOTA – GW/SW-012

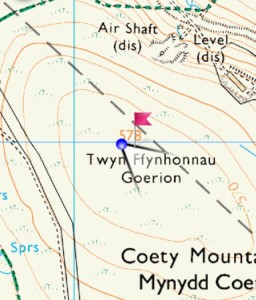
So I decided to take a trek up Coity Mountain (north of ‘The British’) GW/SW-012 on Saturday the 12th March. I wanted to activate this summit before the SOTA bonus season ran out on the 15th.

I drove up the Abertillery/Cwmtillery side of the mountain and followed the sat nav all the way to the reservoir. I carried on over the cattle grid and headed up eventually reaching a fork in the road. To the left a gate to the small reservoir header, and to the right, a rather poor track. I headed up this track about 100 yards in the Landrover but stopped before it changed to rocks. I reversed down this track at the end of the day.

gw-sw-012

IMG_3579 IMG_3585

So everything in hand, ruck sack, provisions, fibreglass mast and the 2m handy, I started walking up to the summit and following my nose. The first 50% of the walk wasn’t too bad with existing rocky tracks to follow, however this soon changed. There were no foot paths/tracks to follow in the direction of Coity summit, so I followed my nose. Care was taken over the heather as there were a number of bogs and crevasses on route. One of these crevasses approximated 5ft deep and 1ft wide, so easily missable in the heather covering everything. The fibreglass pole proved to be very handy at ‘prodding’ out the floor. It was a slog over this terrain, something like 45 minutes to get from car to summit.

I eventually reached the summit, and found a concrete reference point in the floor on a small tump there. I got set up and started making contacts. I recorded some footage, of which you can see here :

A good number of stations were worked, including a number of summit to summit (S2S) contacts. GW4VPX/P, MW0XOT/M, G0LGS/M, GW4BLE, G0LGS/P, GW0JTU/M, G0NUN, MW0JLA/P, G6OVD/P, 2W0IWM/P, G4ZWY, MW0JCQ/P including Viki MW6BWA and Rod MW0JLA.

IMG_3595 IMG_3592

I had a nice couple of hours up there, some baked beans and a cuppa. I decamped around 4pm and headed down. Thanks to everyone for all the contacts. A most enjoyable afternoon.

73

1st SOTA Activation – GW/SW-033

Recently I have been thinking about trying to activate a local SOTA (Summits On The Air) point and decided to take a trip out yesterday afternoon (Saturday) to Wentwood, a local SOTA point, reference GW/SW-033. I figured I would keep it simple to start with, and a local easy to reach summit was in order.

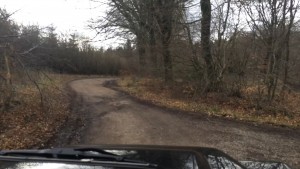
I made my way there, taking a short cut along a forest track, no problem for my landrover.

wentwood_track_landrover

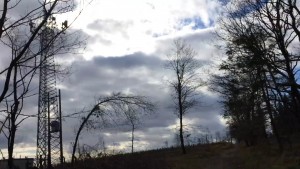
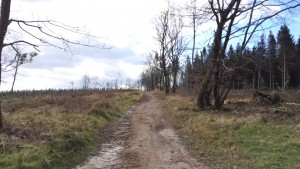
The SOTA point is some 100 meters from a commercial mast, which proved to be a bit of a problem as I will mention in a while. I parked up and walked the 10 mins or so to the OS trig point. Just follow the track that runs along side the mast, and then about 100m beyond that, on the left.

walk1 walk2

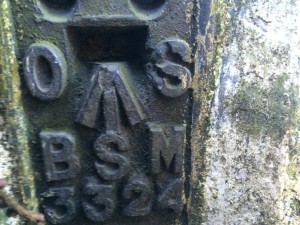
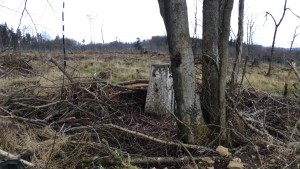
I found the trig point, partially covered in felled wood from previous forestry commission work. I managed to uncover the information plaque and get a picture.

gw-sw-033_trig trig

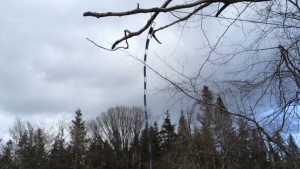
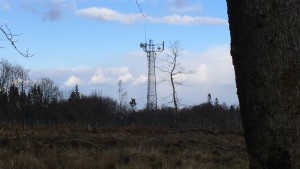
You can see the mast in the distance, approximately 100m or so. It proved to be a complete nightmare, totally swamping the front end of the Yaesu FT1XD 5w handy that I had taken with me. I set up the antenna, a home brew slim jim from 450 ladder line, slung from the branch of a tree.

slimj mast2

A very simple setup, a soft pad to sit on, supplies in the rucksack, the handy at 5 watts, the slim jim and a log book. I sat down and turned the radio on, and listened to a number of qso’s around the 2m band. Annoyingly signals would be 5/9 and then totally get destroyed by the mast. Initially I thought it was a connection problem, as things were so severe, but quickly came to realise it was the mast causing the havoc. Un-deterred, I decided to put a call out on 145.500 @5w FM, CQ SOTA, cq sota…….  To my amazement, people came back to me instantly and we headed to 145.475.

setup

Working conditions were very bad, it was taking a good while to get all the information required from each station. Their signals would be 5/9 one second and gone the next, QRM from the mast was so bad that it was obvious that as soon as I had enough contacts in the log I would be heading down. You need four report exchanges with different stations to receive the points for the summit, but just one contact to activate it.  I am starting to find that locally all the high points have these QRM generators, such a shame.

Stations worked, G4ENZ, M0JCE, GW0AVW, M6AIX, G0LGS, G8CKK, MW0ECX/p and G3VM.

MW0ECX/p was especially gratifying as Neil was on another summit, so it was a summit to summit contact. He was working from GW/SW-012, the Coity Mountain, north of ‘The British’.

I only made one call on 145.500 in the end, and stations kept calling in on 145.475. Many thanks to the stations that did call, and it was a success. I have my first SOTA point, a long way to go until the mountain goat award (1000 points).

Screen Shot 2016-03-06 at 20.29.05

view

In the end, I spent about 35 minutes on air, and decided to head down. The QRM made it a very difficult activation on 2M FM, but I thoroughly enjoyed it. The next mountain will be Machen Mountain (GW/SW-030), which is another simple summit to reach again, however it does suffer from local QRM as well from the masts there. I will probably take a HF rig next time as well.

All the best 73, and as they say….. onwards and upwards 🙂